BlueRange Setup App
Overview
Our BlueRange Setup App can be used to easily set up a BlueRange network during hardware installation. It is the preferred method that should be brought along by the person that installs the BlueRange Gateway and the Mesh Nodes. It supports enrolling our BlueRange Gateway, BlueRange Mesh Nodes and BlueRange Tags, editing the building structure, perform device diagnosis and more.
Download
Login
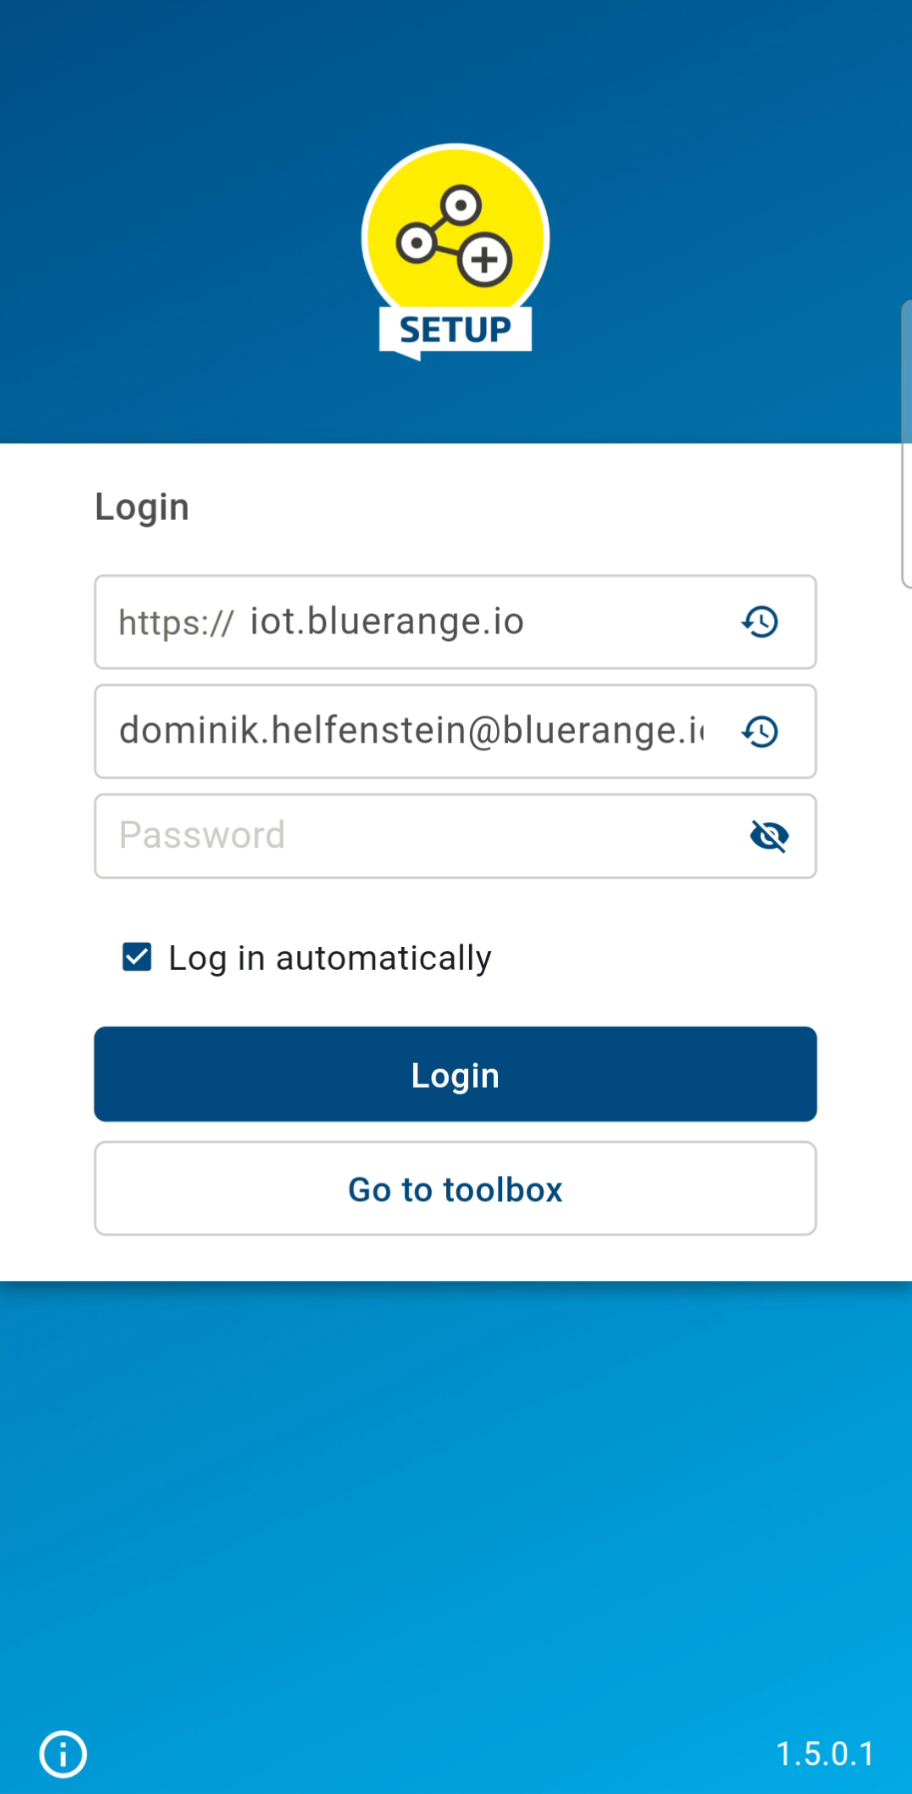
Verify that you have a valid user by logging in to the BlueRange Portal first. The organization administrator might need to accept the terms of use before anyone can use the Portal and Setup App. Once you have access to the BlueRange Portal, you can log into the Setup App.
Enrollment
To enroll devices, your user must be part of the group Administrator or Device Manager
|
Creating the Building Structure
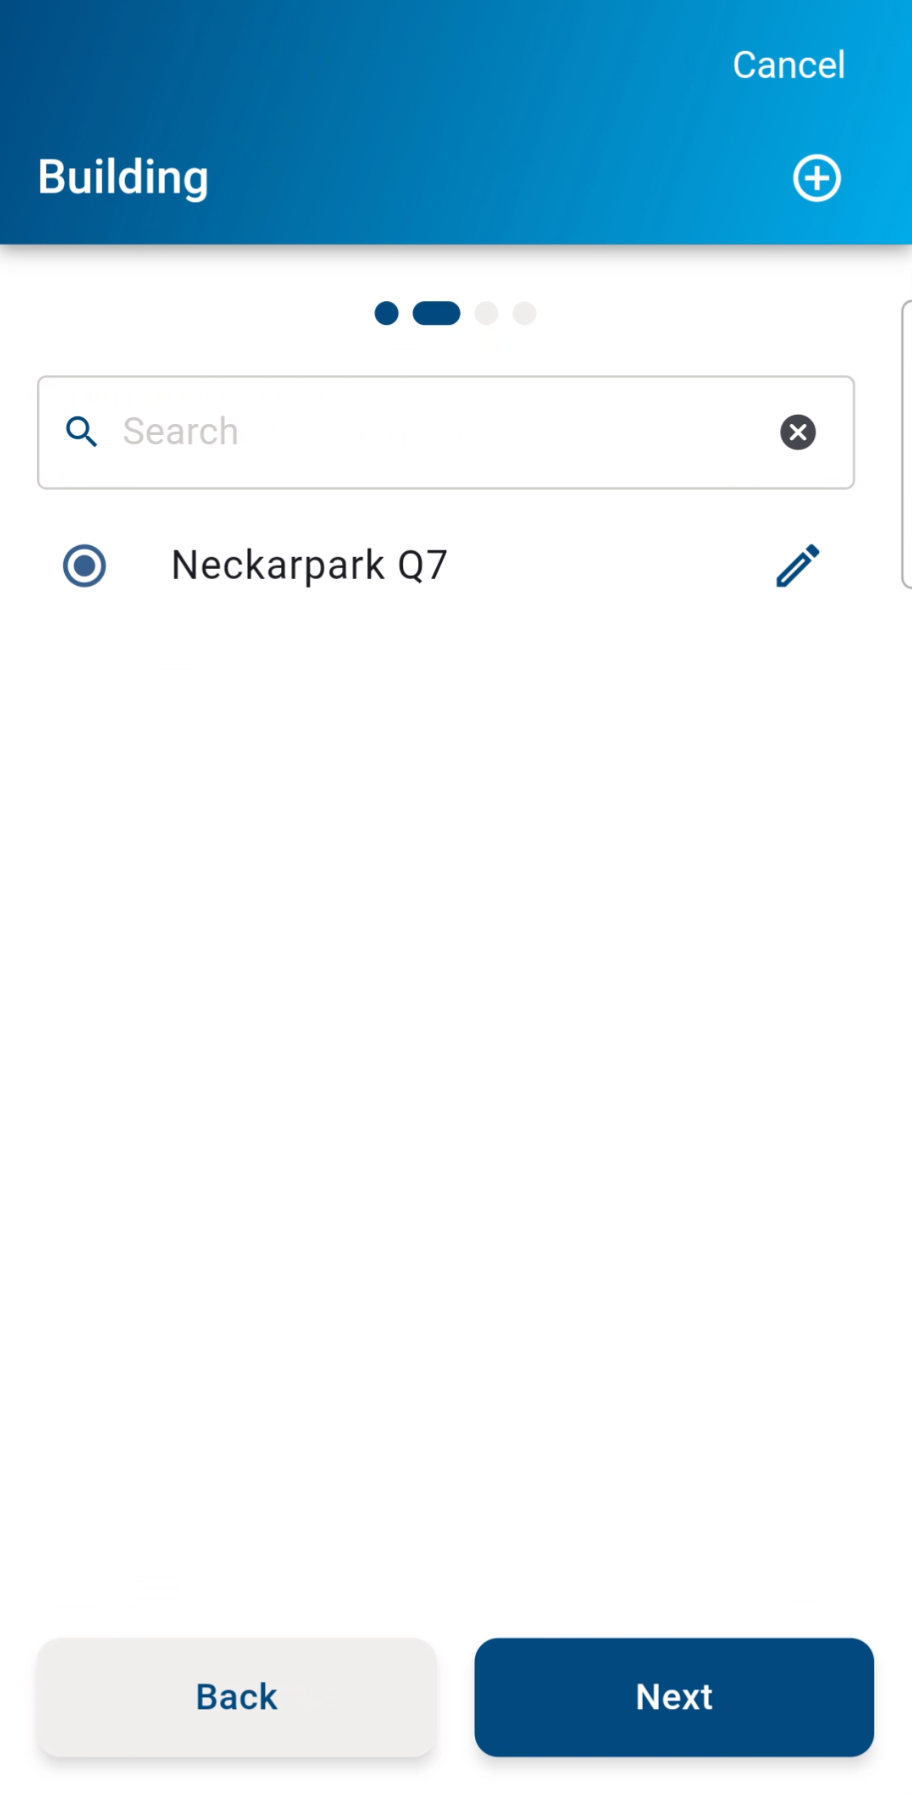
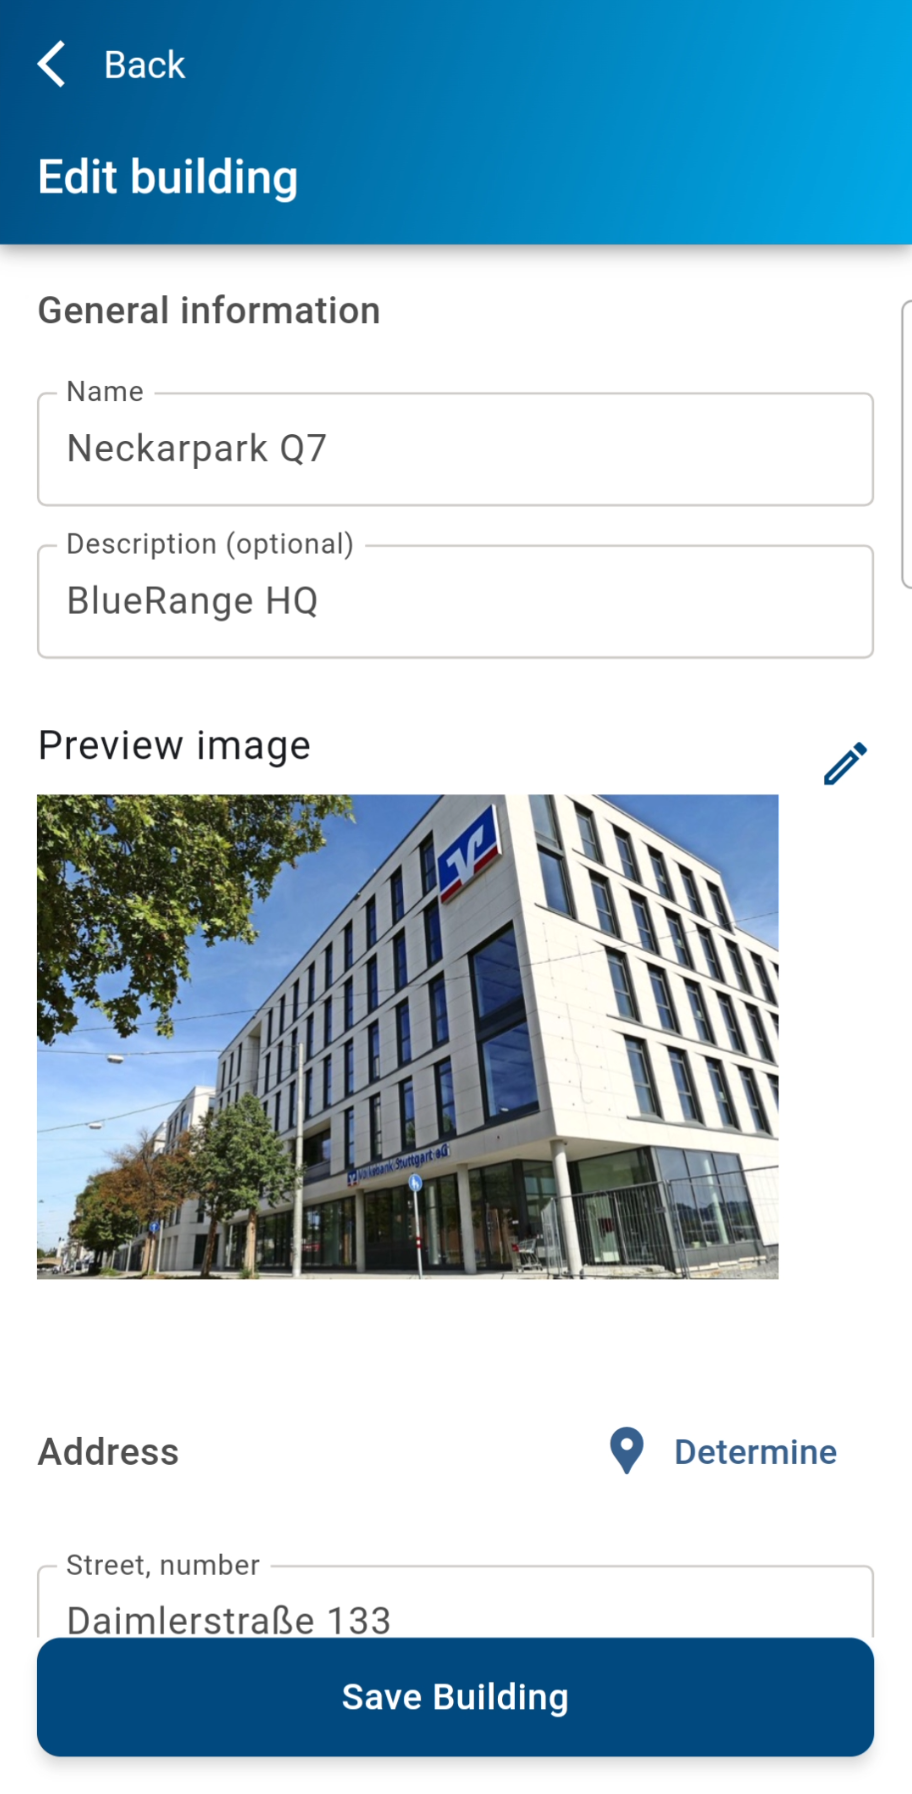
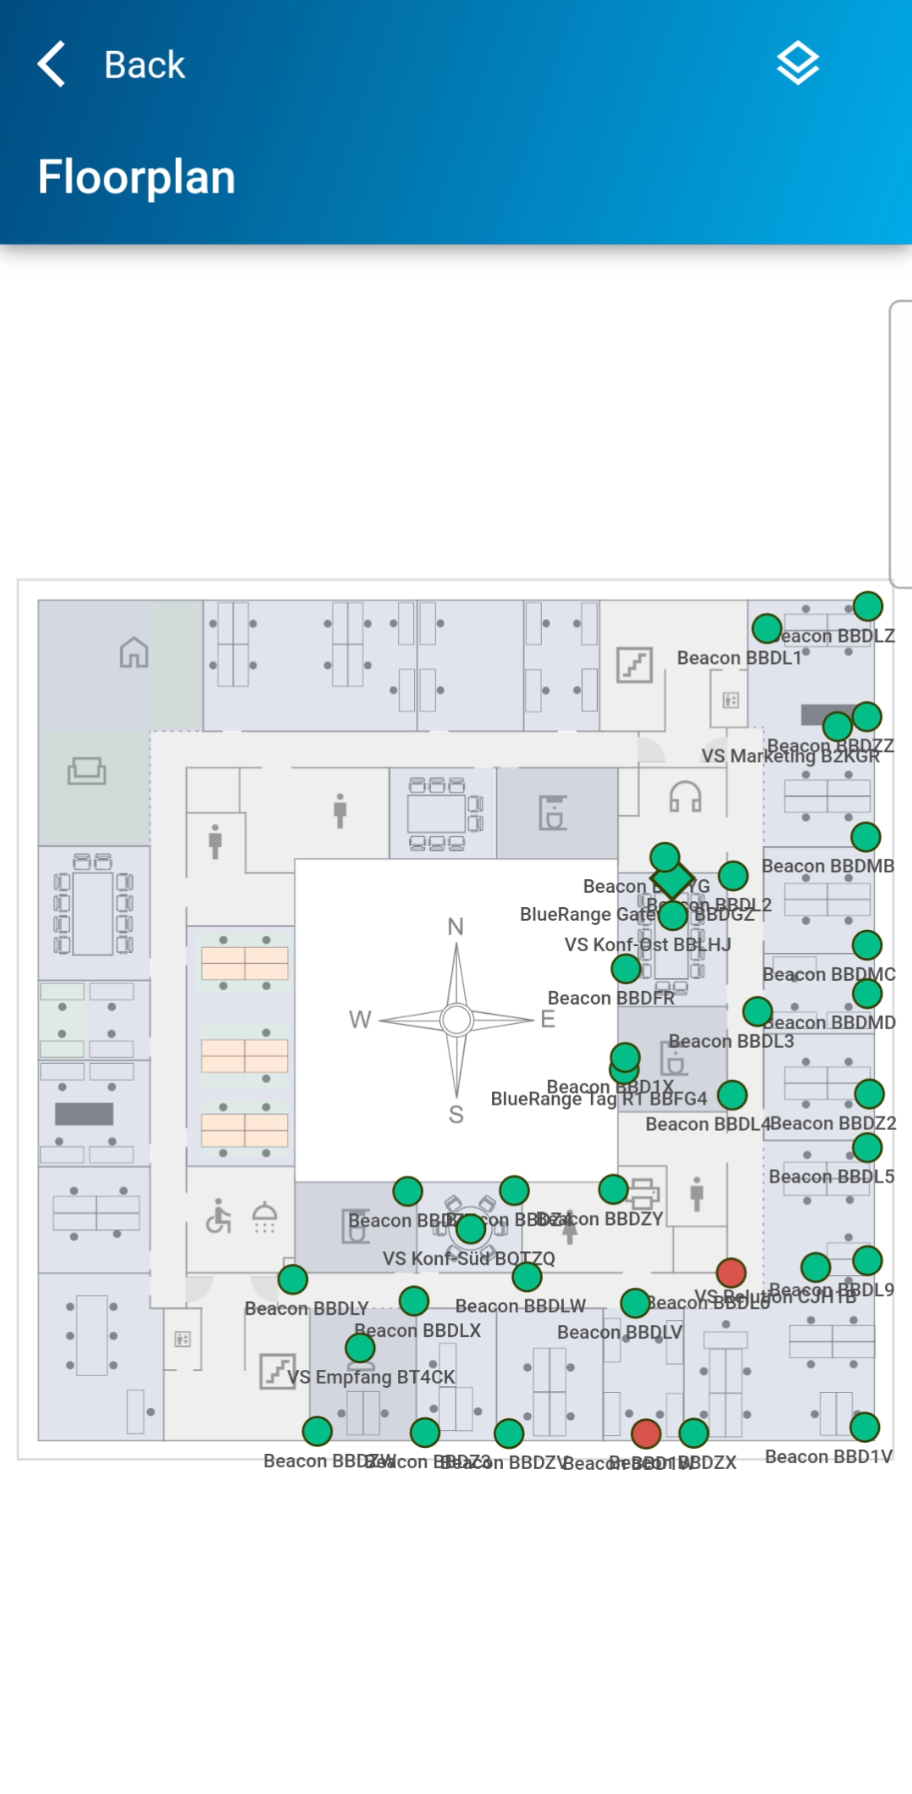
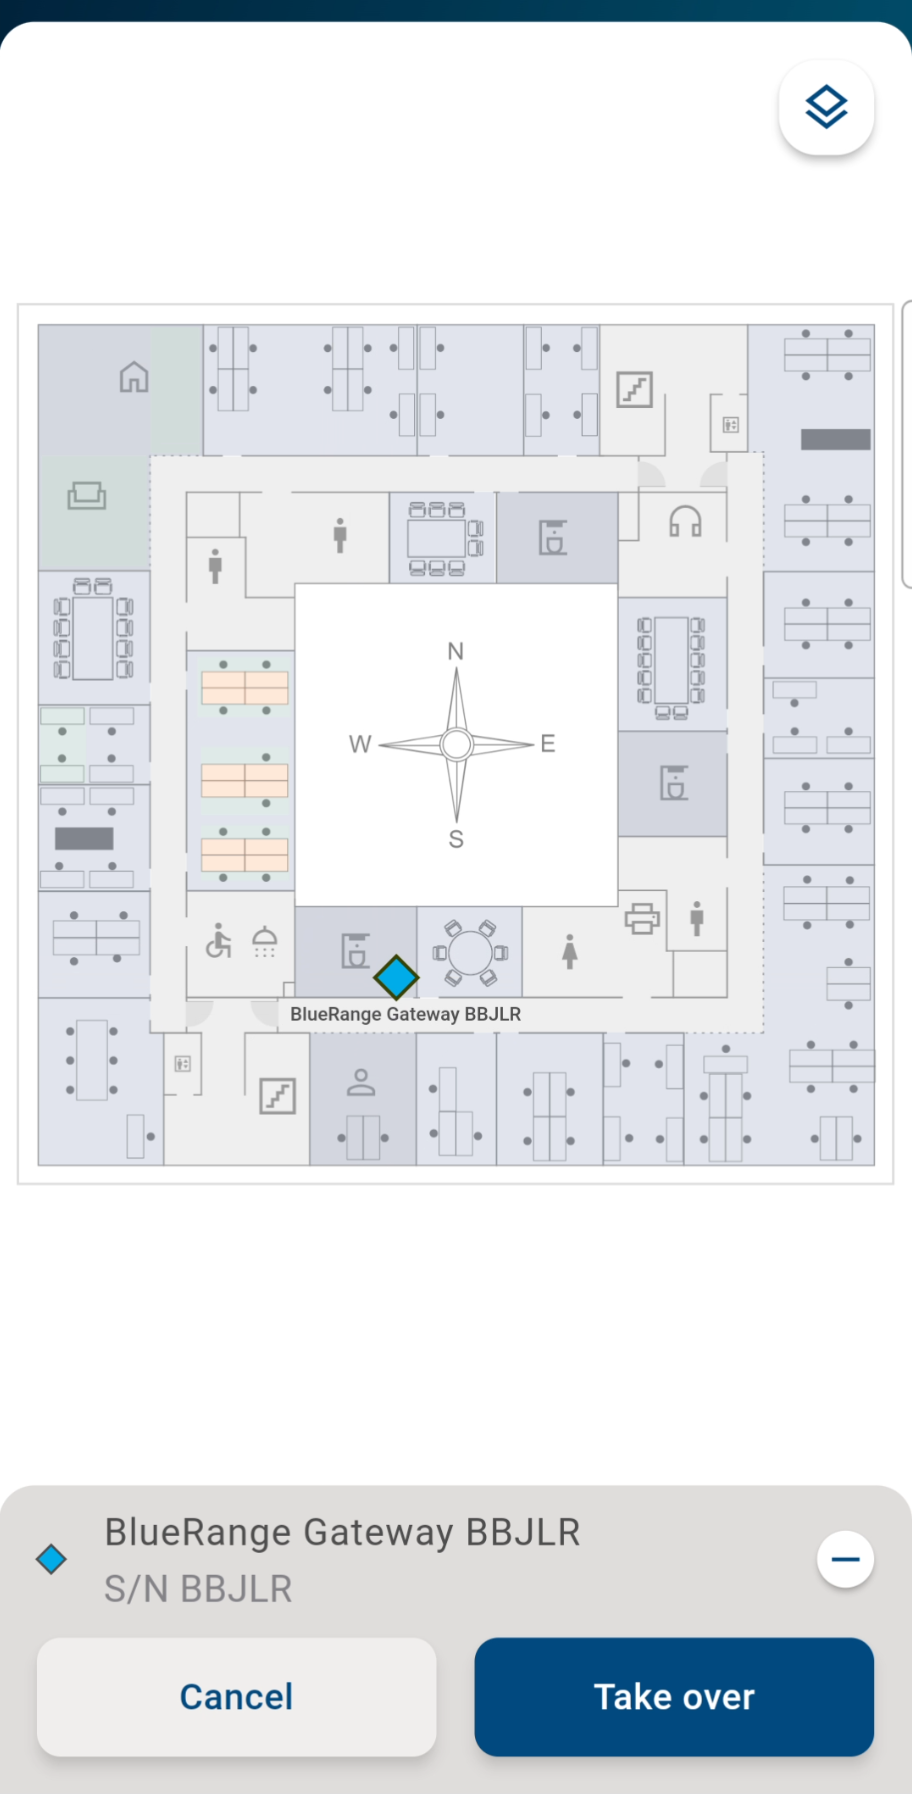
You can use the BlueRange Setup App to set up buildings, rooms and zones. If you upload a floor plan, you will be able to position the devices on this floor plan during enrollment. This is very helpful and frees you from having to deal with paperwork and clumsy hand written serial numbers. This is a much less error prone way than noting the install positions on a piece of paper and should be preferred if possible.
|
|
|
Enrolling a Gateway
| The Gateway will need to have access to the BlueRange Server in order for the enrollment to succeed, for more information check the BlueRange Gateway Requirements section. |
| The Gateway’s target URL is the URL of the server it is enrolled on. This is either the server you sign in on with the BlueRange Setup App or the URL of the server on which you created the enrollment using the portal. |
-
Start the app and log in to your organization
-
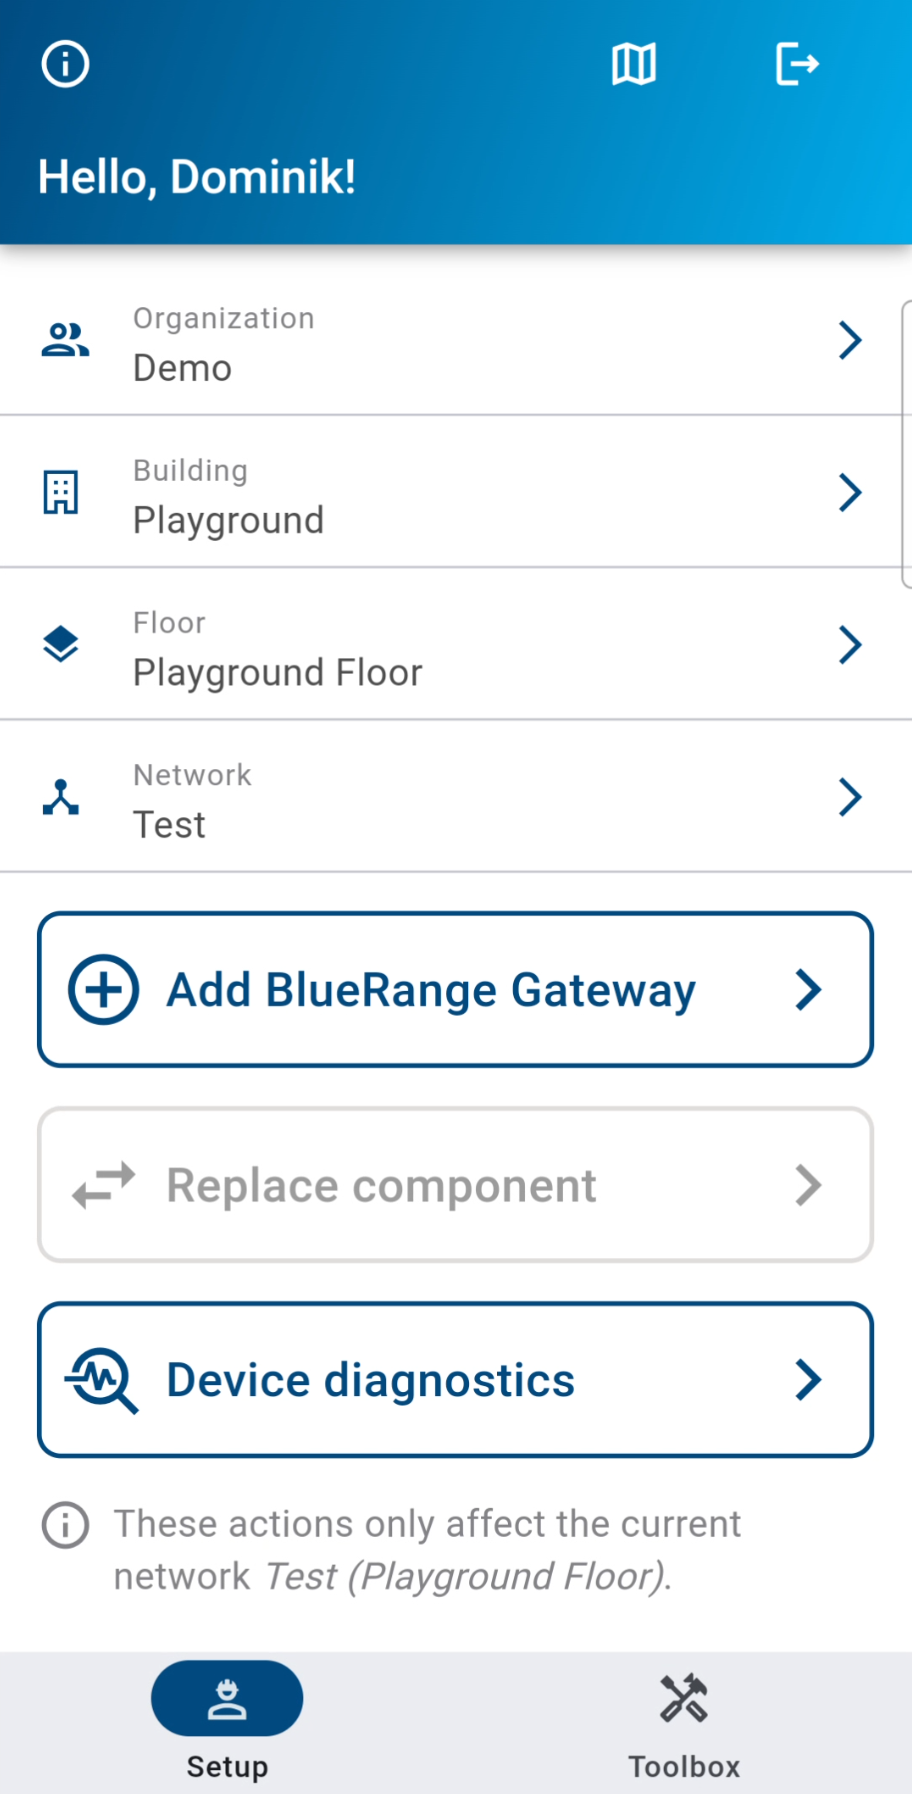
Choose the desired network
-
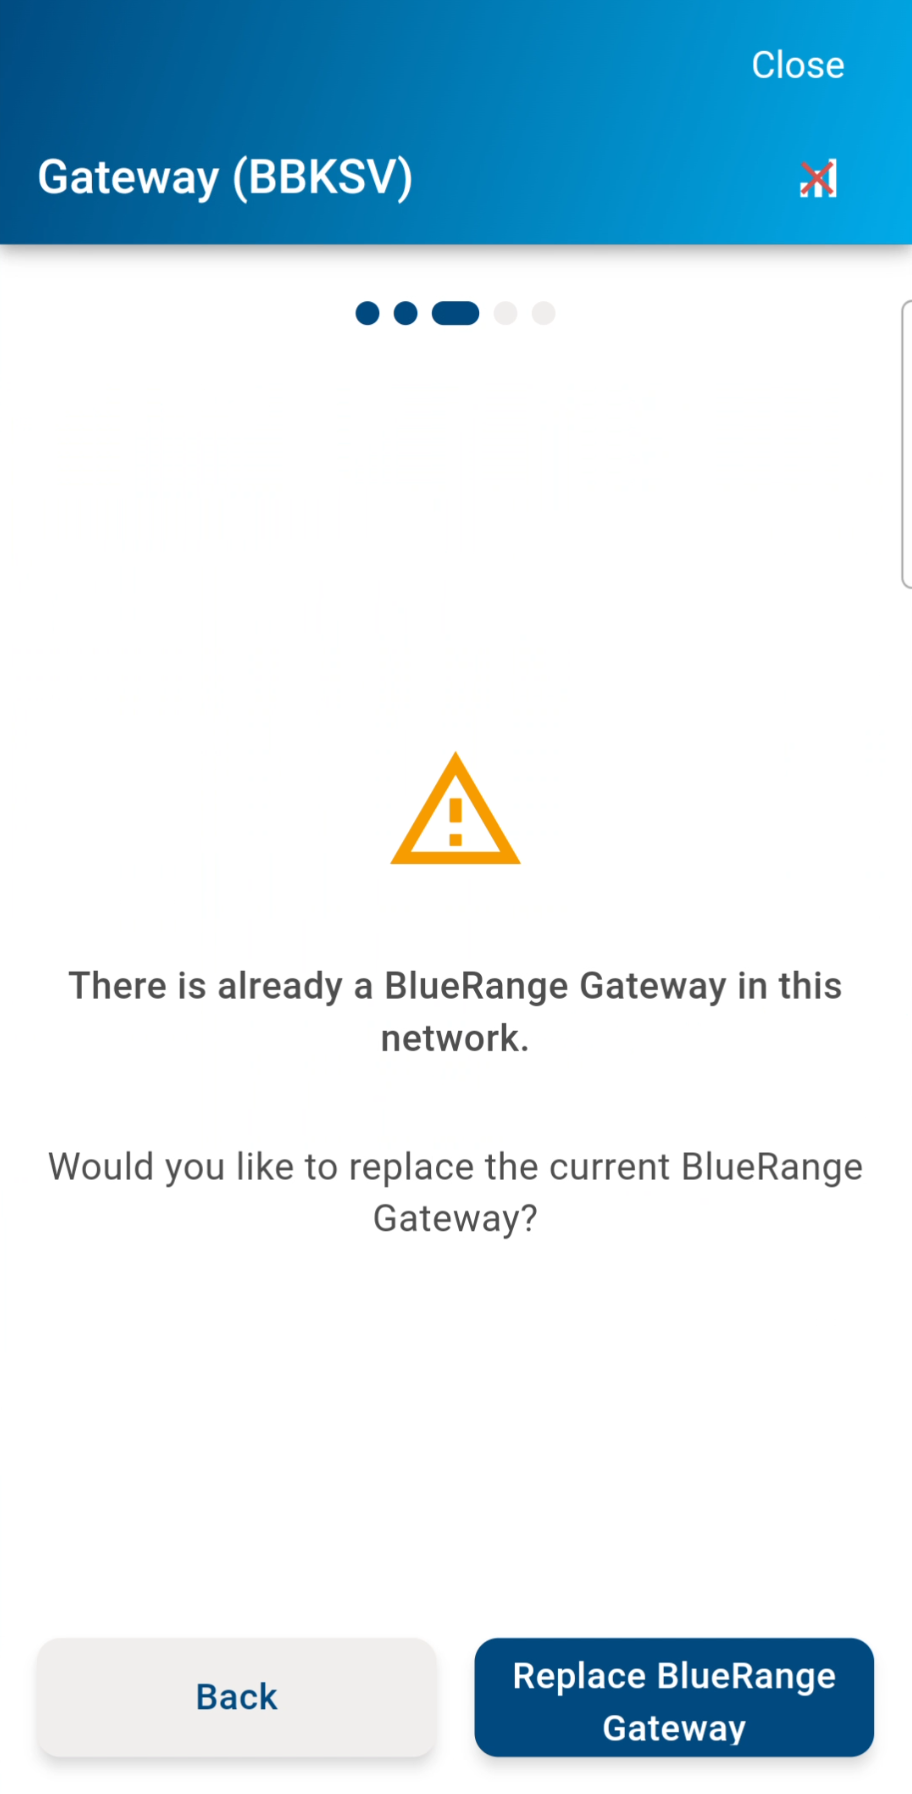
Choose
Add Gateway(this will only appear if there is no Gateway enrolled already) -
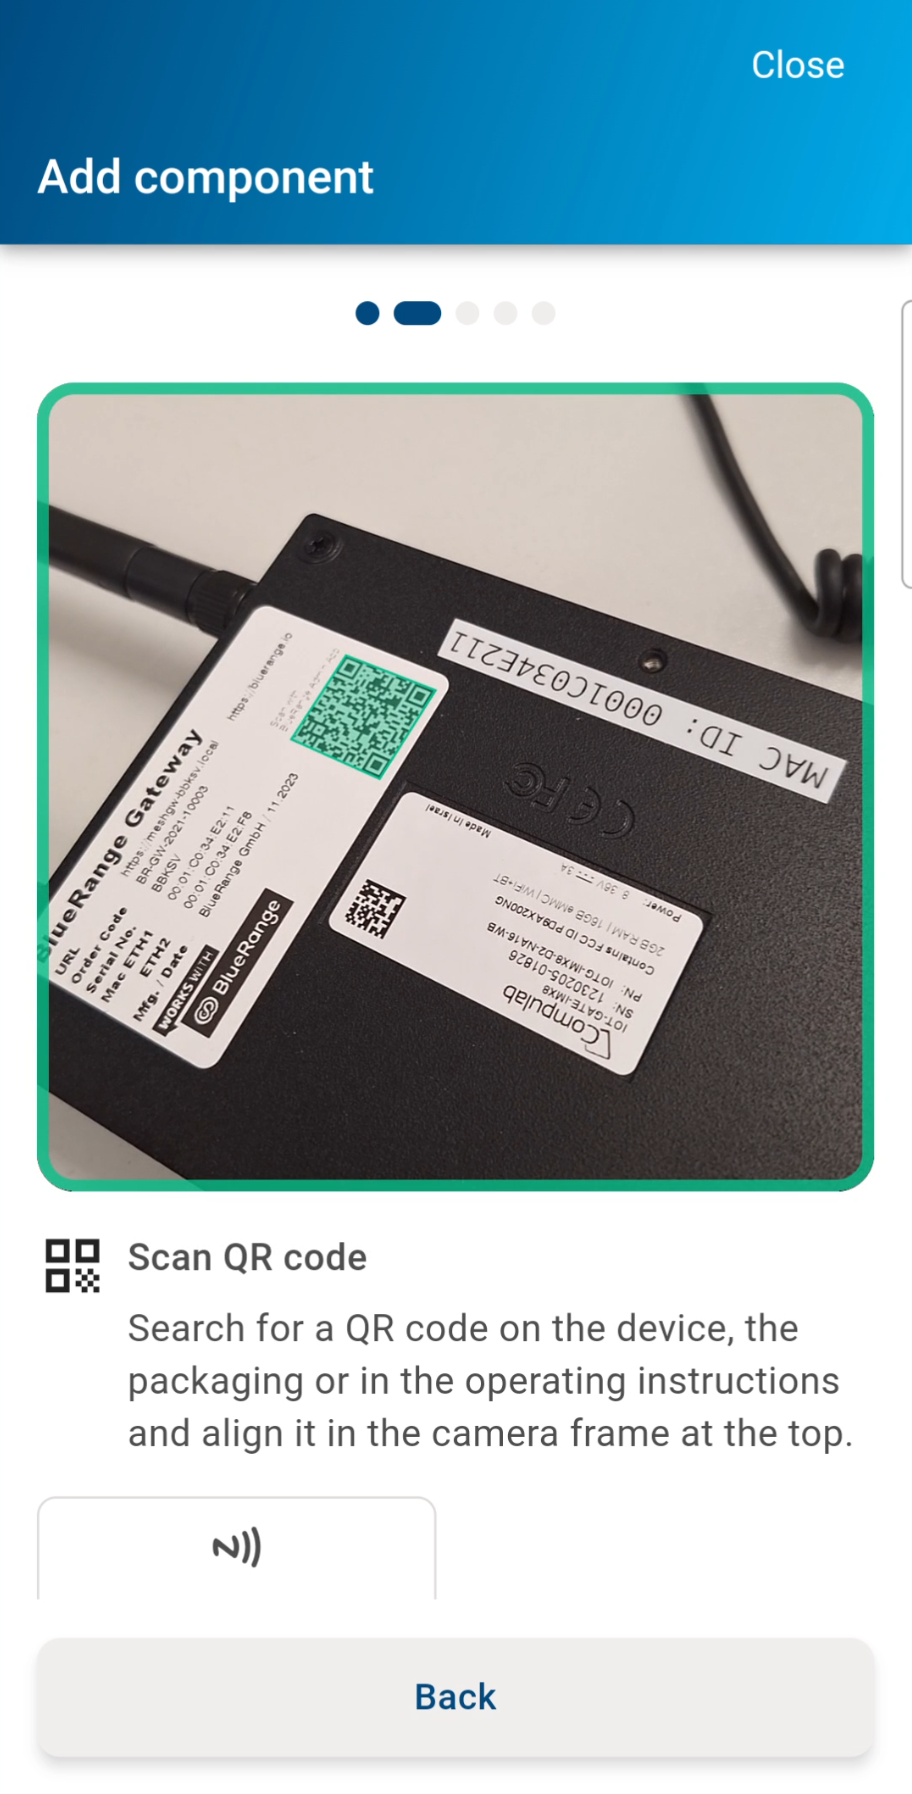
Scan the QR Code on the Gateway
-
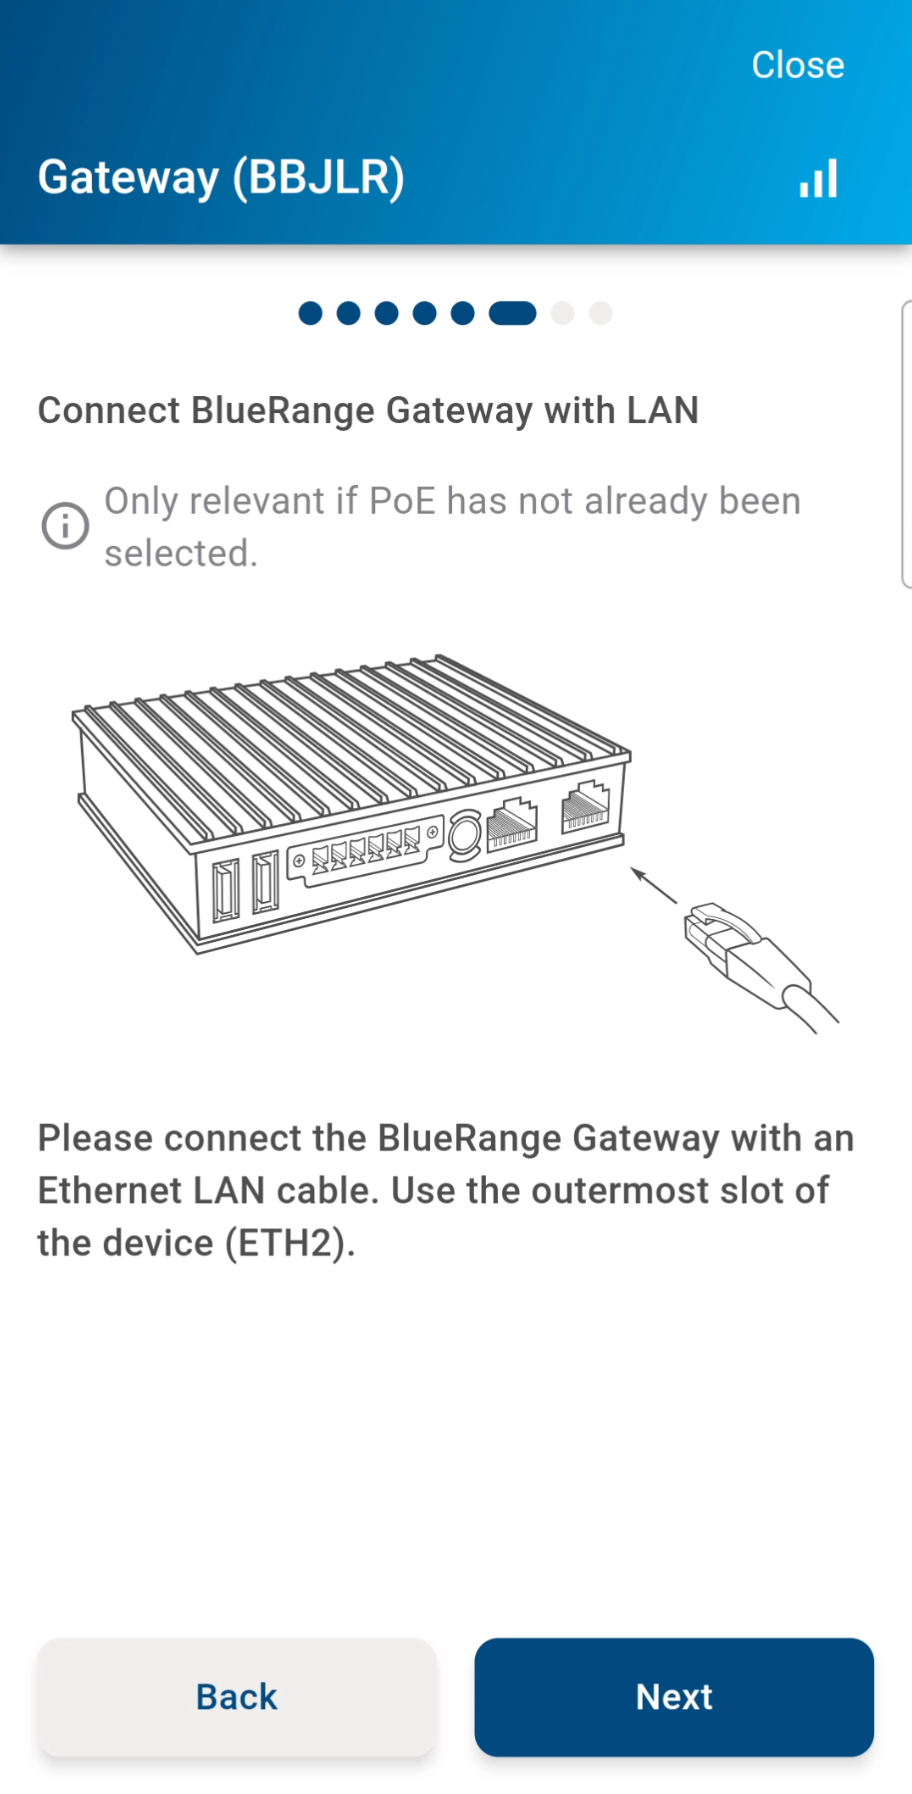
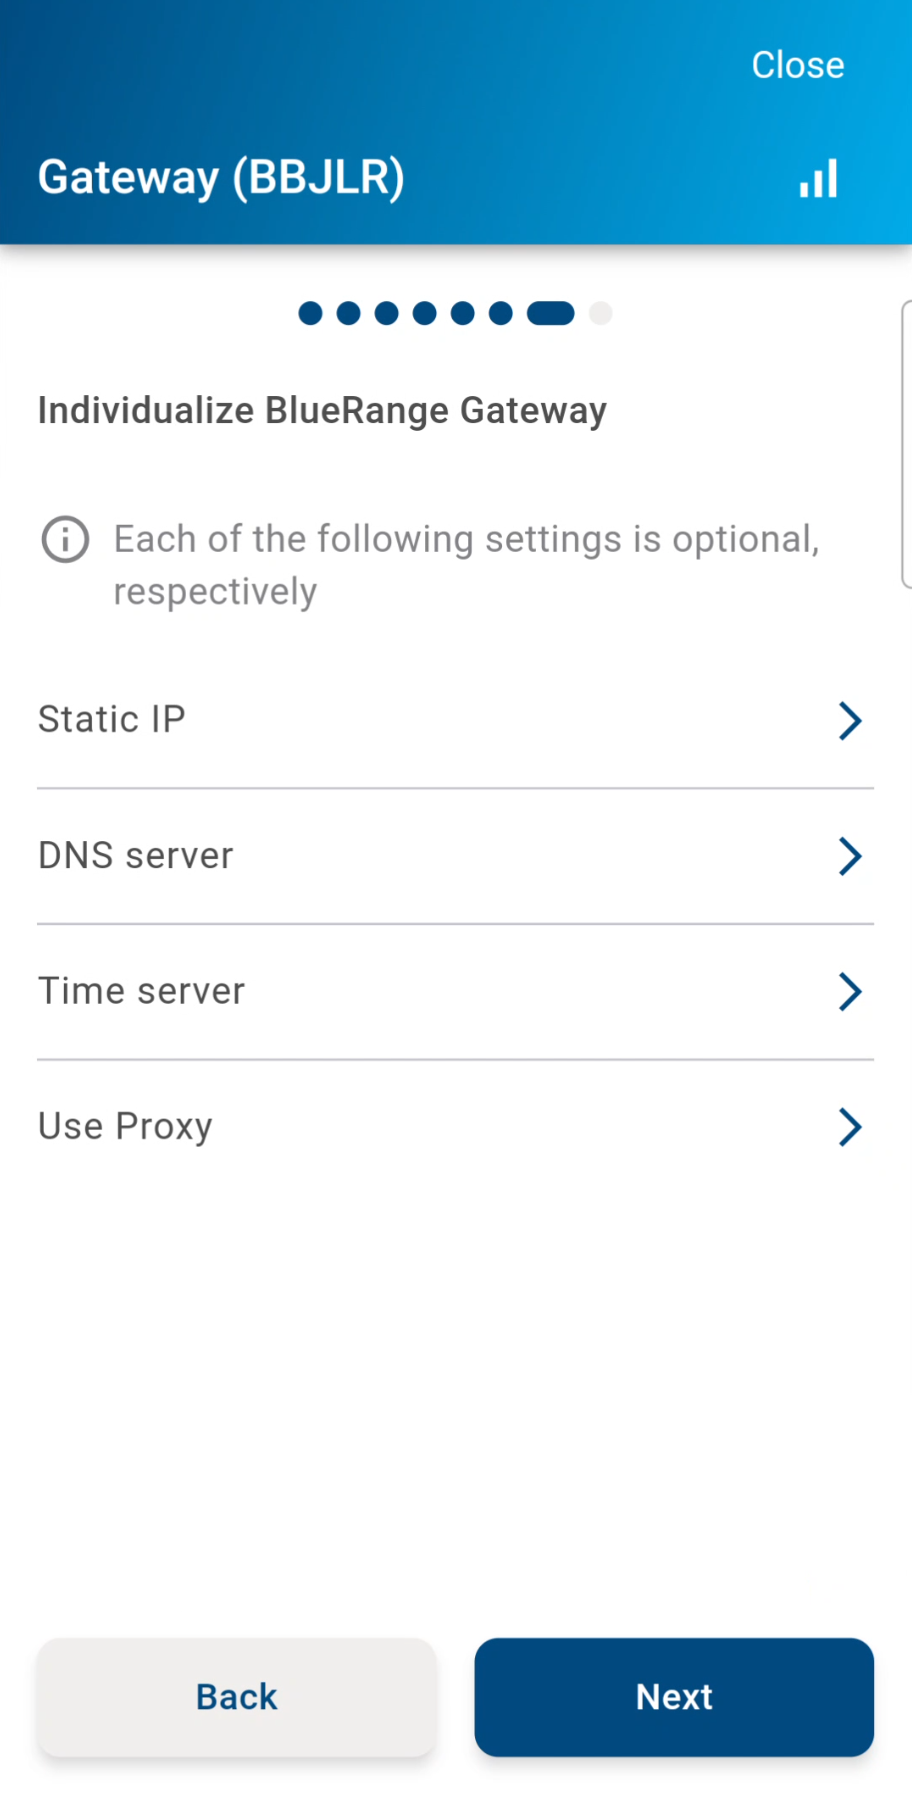
Choose connection type and give the corresponding network credentials prior to the enrollment via the app
-
Set the position on the map via a tap on the map
-
Press
Start Enrollment -
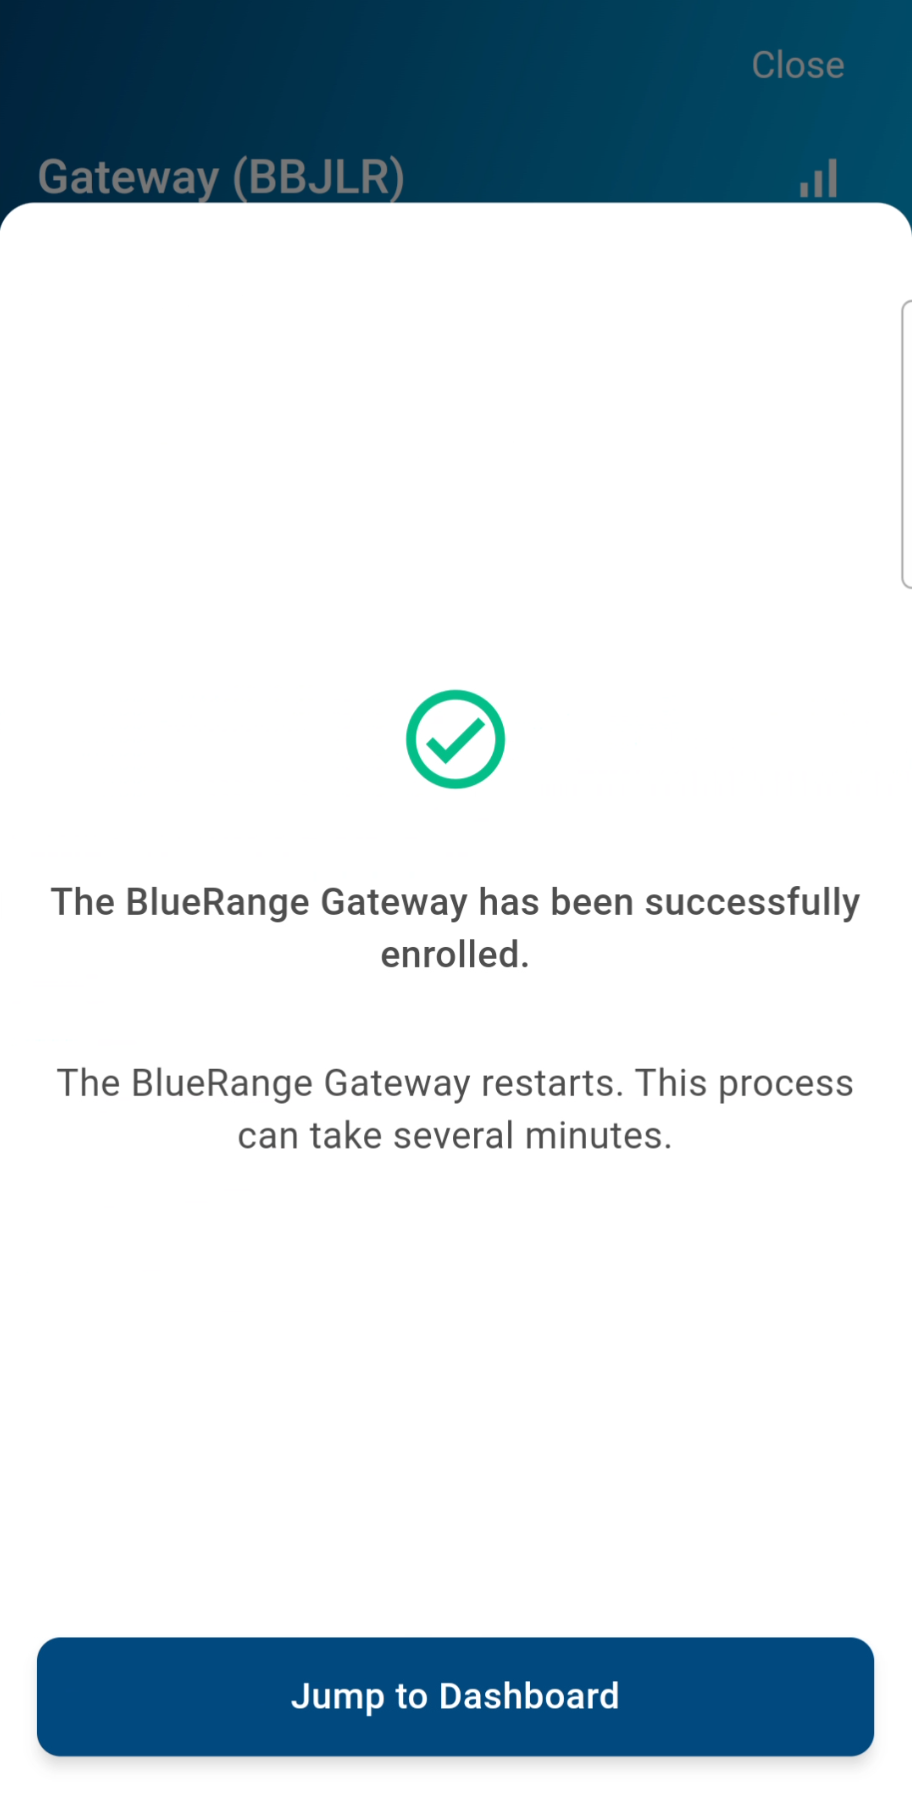
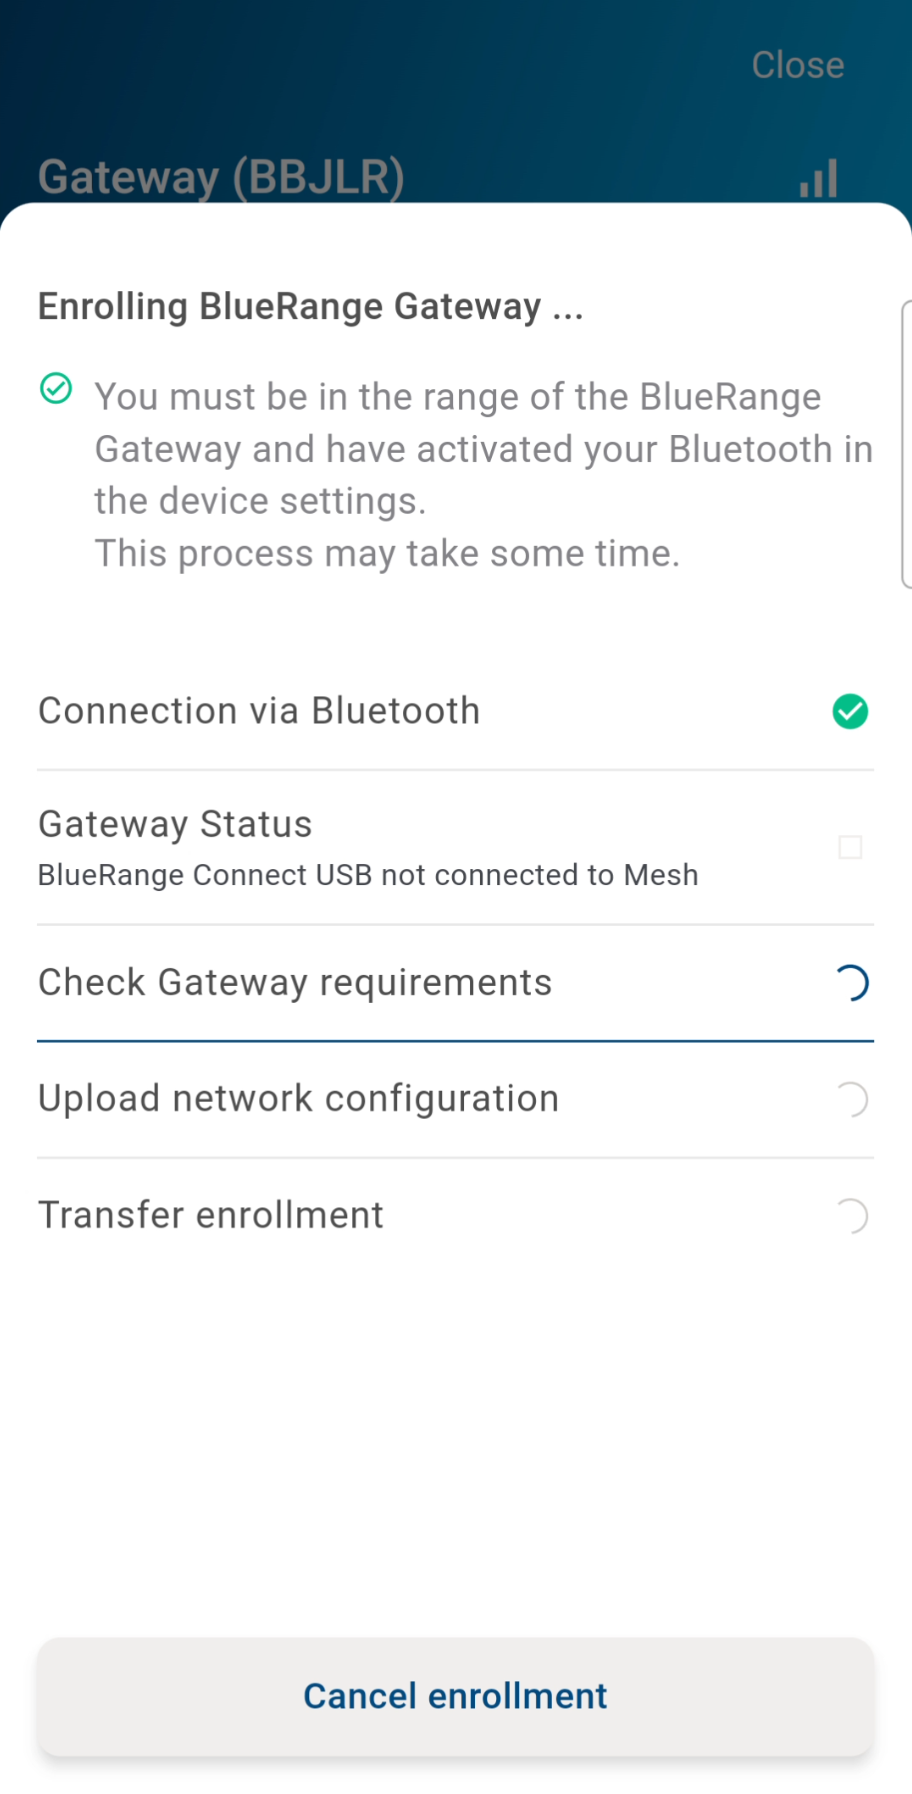
It takes a short processing time, then the enrollment is done
-
After the enrollment, the Gateway restarts.
-
This takes around 3 minutes.
-
| Custom server certificates can not be installed via the app directly. You can either do this through the Gateway WebUID or upload a trusted SSL certificate via HTTP. |
|
|
|
|
|
|
|
|
|
|
Enrolling a Mesh Node
This process is very similar to the Gateway enrollment.
-
Start the app and log in to your organization
-
Choose the desired network
-
Press the 'add component' button. This will only be shown if a Gateway is already enrolled in the network.
-
Scan the QR Code
-
Set the position via a tap on the map
-
Press
Start Enrollment
-
-
A sheet will open and the device will be enrolled
Enrolling a Tag (e.g. for Asset Tracking)
Enrolling a Tag is exactly done like the enrollment of a Mesh Node, see Enrolling a Mesh Node. You can tap the + button in any of the tabs and the device platform will be automatically recognized. Once the device is enrolled, it will show up in the correct tab (e.g. Mesh Nodes, Tracking Tags, ….).
Note that enrollment of a Tag might be slower as it is most of the time operating in low power mode and is not reachable at all times.
Diagnostic Features
The BlueRange Setup App has a number of diagnostic features that are helpful to diagnose connectivity issues.
|
|
|
|
BLE Radar
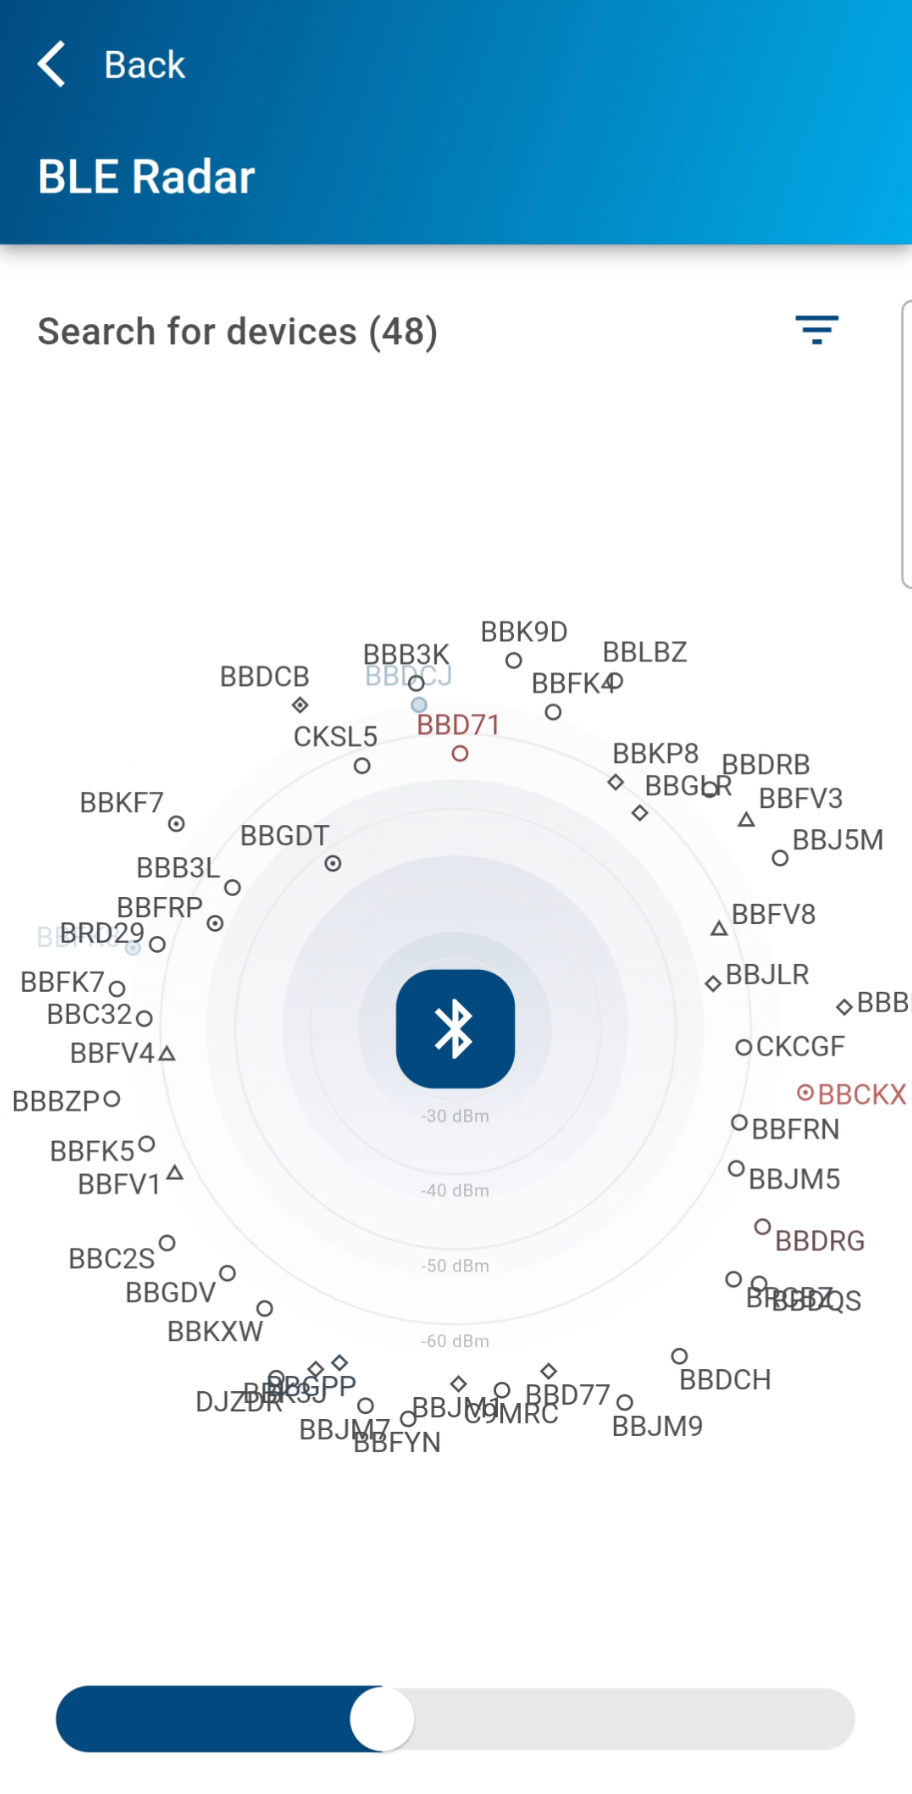
The BLE Radar is located in the toolbox. You can find it either on the login page or in the bottom navigation bar when logged in.
Use the BLE Radar to find nearby devices. Tap on a device to view its device details. This is useful if you want to find out which BlueRange Mesh Nodes, Gateways and Tags provide a BLE signal.
Nearby Scanner
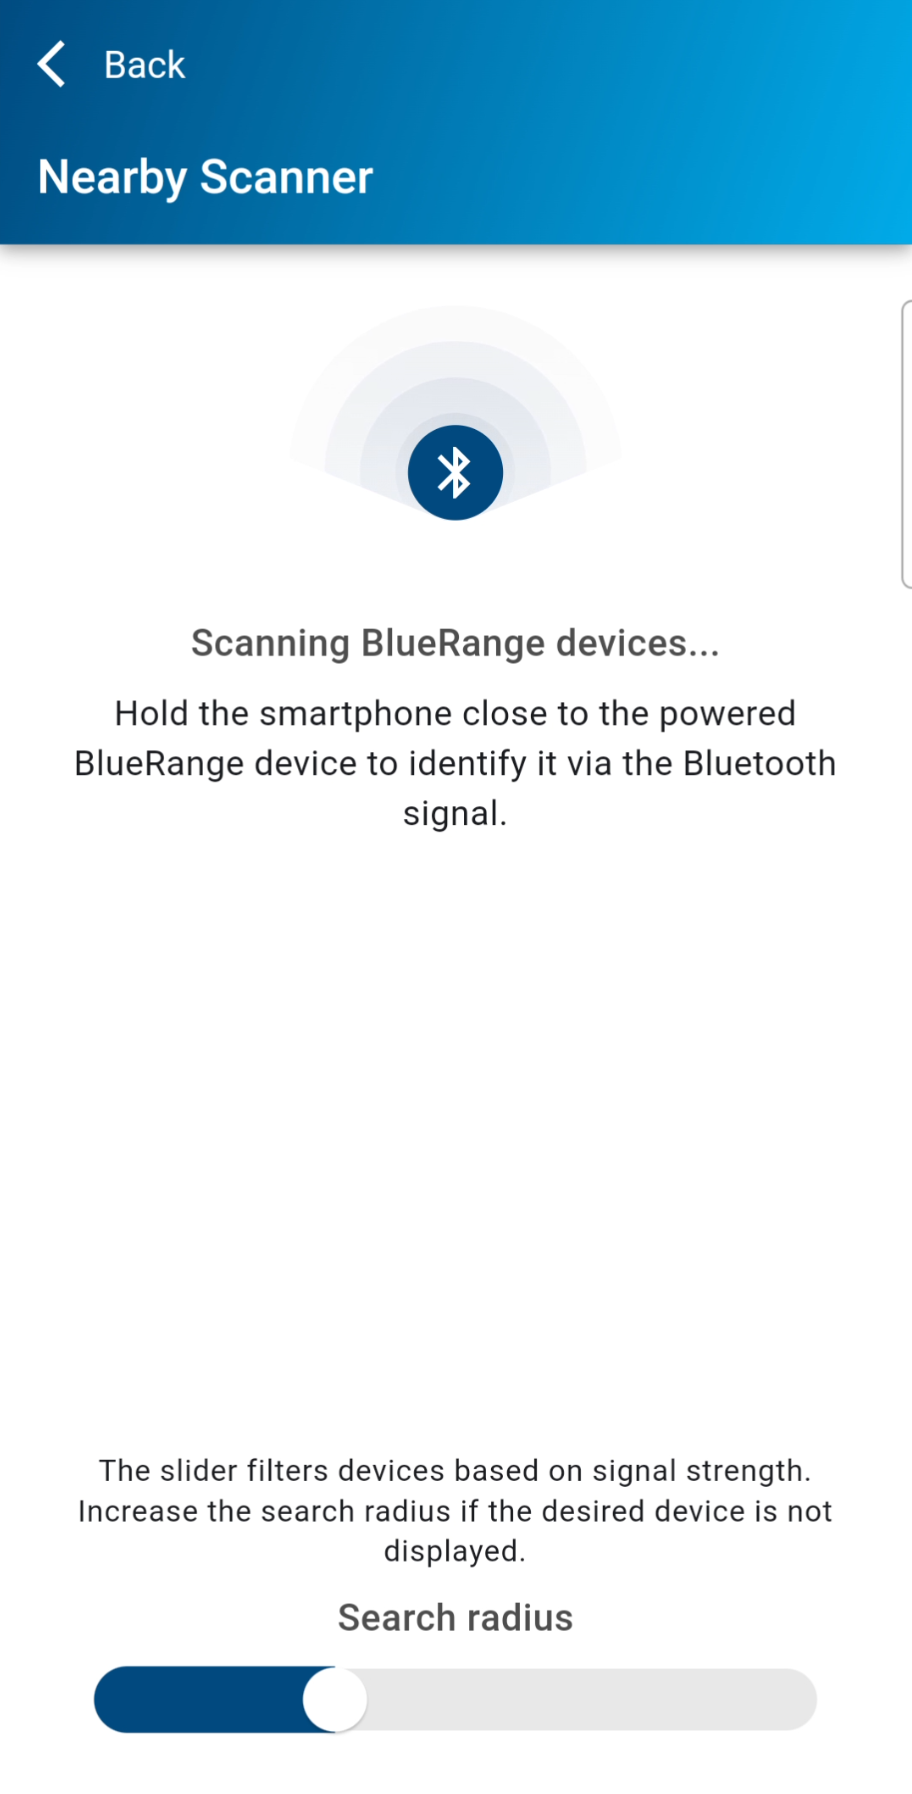
The Nearby Scanner is located in the toolbox. You can find it either on the login page or in the bottom navigation bar when logged in.
The Nearby Scanner detects devices in close proximity. Hold your phone against the BLE sender and its information will pop up on your screen. Tap it to view device details.
Device Details
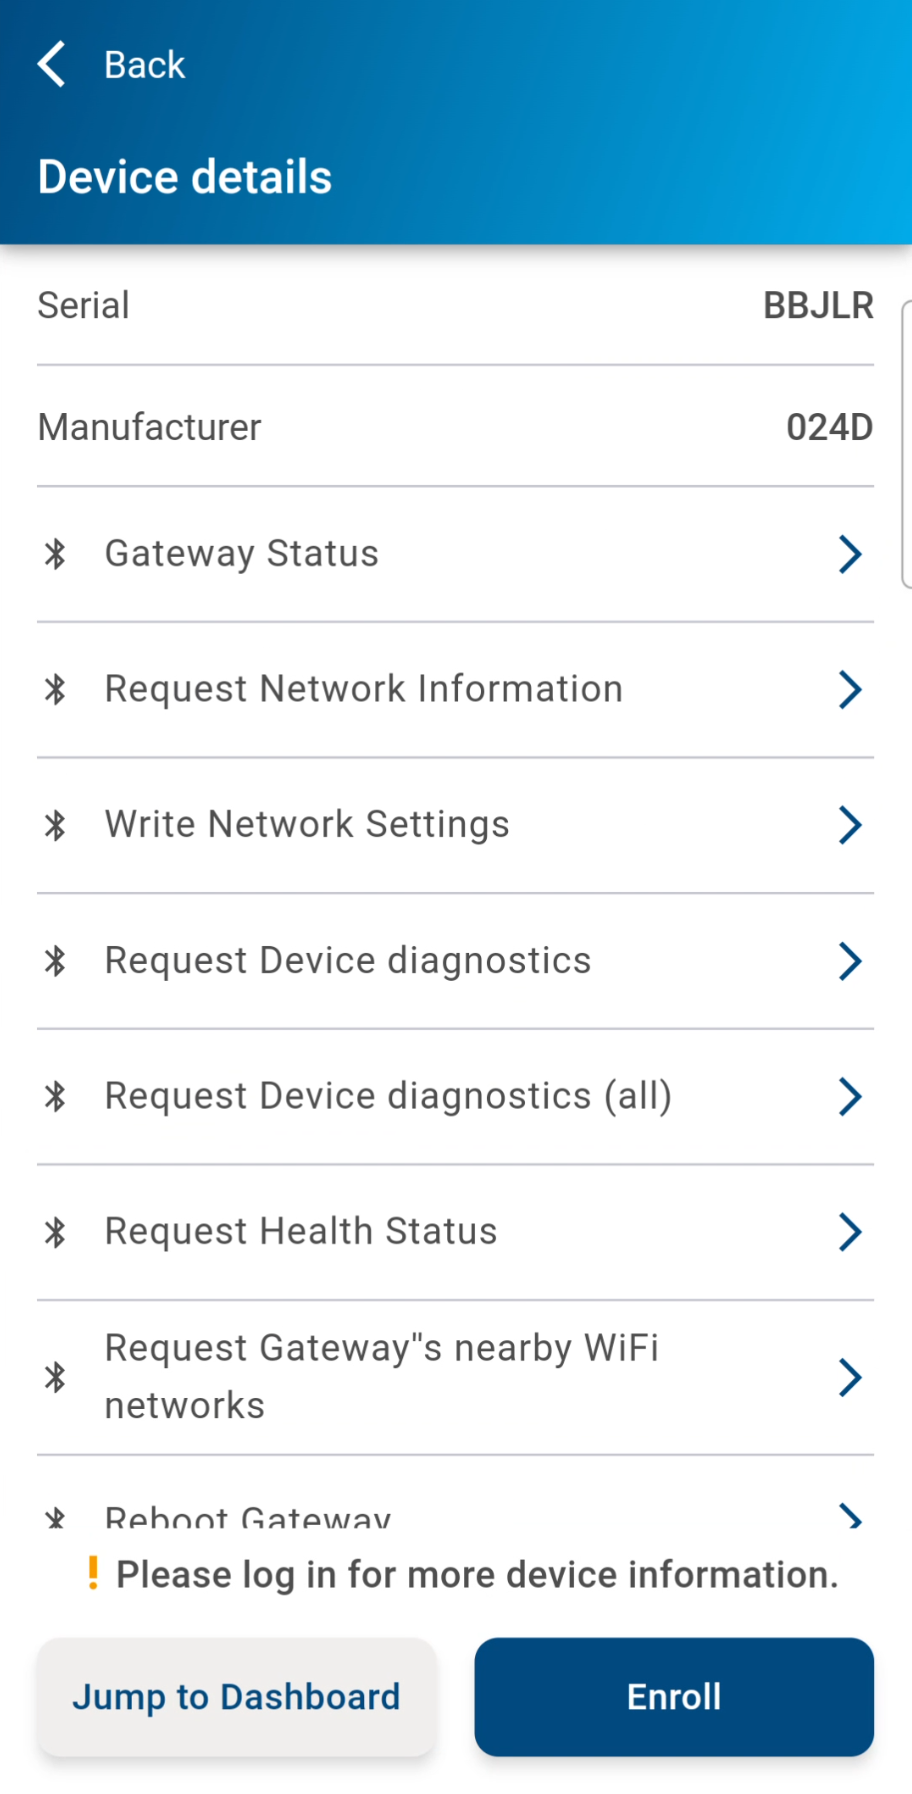
Device Details are a summary of information that has been gathered about the device. These are e.g. the name, network id, enrollment status, RSSI if it is nearby, position on the floor plan, sensor information and much more.
Gateways provide a list of actions that can be initiated via BLE. If you are nearby, you can start several BLE actions. You can restart the Gateway, change IP network settings, see the IP address, MAC address, diagnostic log etc.
The diagnostic log is a collection of information that can be used to analyse network, hardware or other issues and can be sent to us to remotely diagnose an issue without having to send in the hardware.
Troubleshooting
If a Mesh Node is not available for Nearby Enrollment
Some Mesh Nodes support Nearby Enrollment while others do not. This is primarily because of security reasons and you have to enroll these nodes by using a QR code or another method provided by their vendor.
Not all Mesh Nodes are enrolled after the Enrollment completed
-
Make sure you pressed the button to start the enrollment after you have saved all devices when using the enrollment app.
-
You can try to start the enrollment again as it might be possible that some Mesh Nodes were not enrolled because they took too long to respond.
-
Make sure that all Mesh Nodes are within reach of each other. The Gateway must be able to reach some Mesh Nodes, after these are enrolled, they must be able to reach some other Mesh Nodes. If there are Mesh Nodes that are not able to reach the Gateway through a route of already enrolled nodes, then these cannot be enrolled. To solve this either place other Mesh Nodes to fill the gap or bring the Mesh Nodes that do not enroll within reach of the Gateway.
Not all Tags are enrolled after the Enrollment completed
-
Make sure that the Tags are within reach of either the Gateway or within reach of at least one enrolled Mesh Node that can in turn be reached by the Gateway.
-
You can try to restart the enrollment as the Tags are usually configured to consume as little power as possible, so they might take a longer time to respond.
-
If you still cannot enroll the Tag, try to place it close to the Gateway.
