Managing Groups
A Group bundles users (and other groups) so they can be granted the same access at once. Assigning a Permission Set to a group grants it to every member. For the overall picture see the Permission System overview.
| Managing groups requires the permissions of the Administrator role. |
Opening the Group List
Navigate to > Administration > User Management > Groups. Every organization already comes with a set of predefined groups, for example BLUECORP Administrator or BLUECORP User (the prefix is the unique name of your organization).
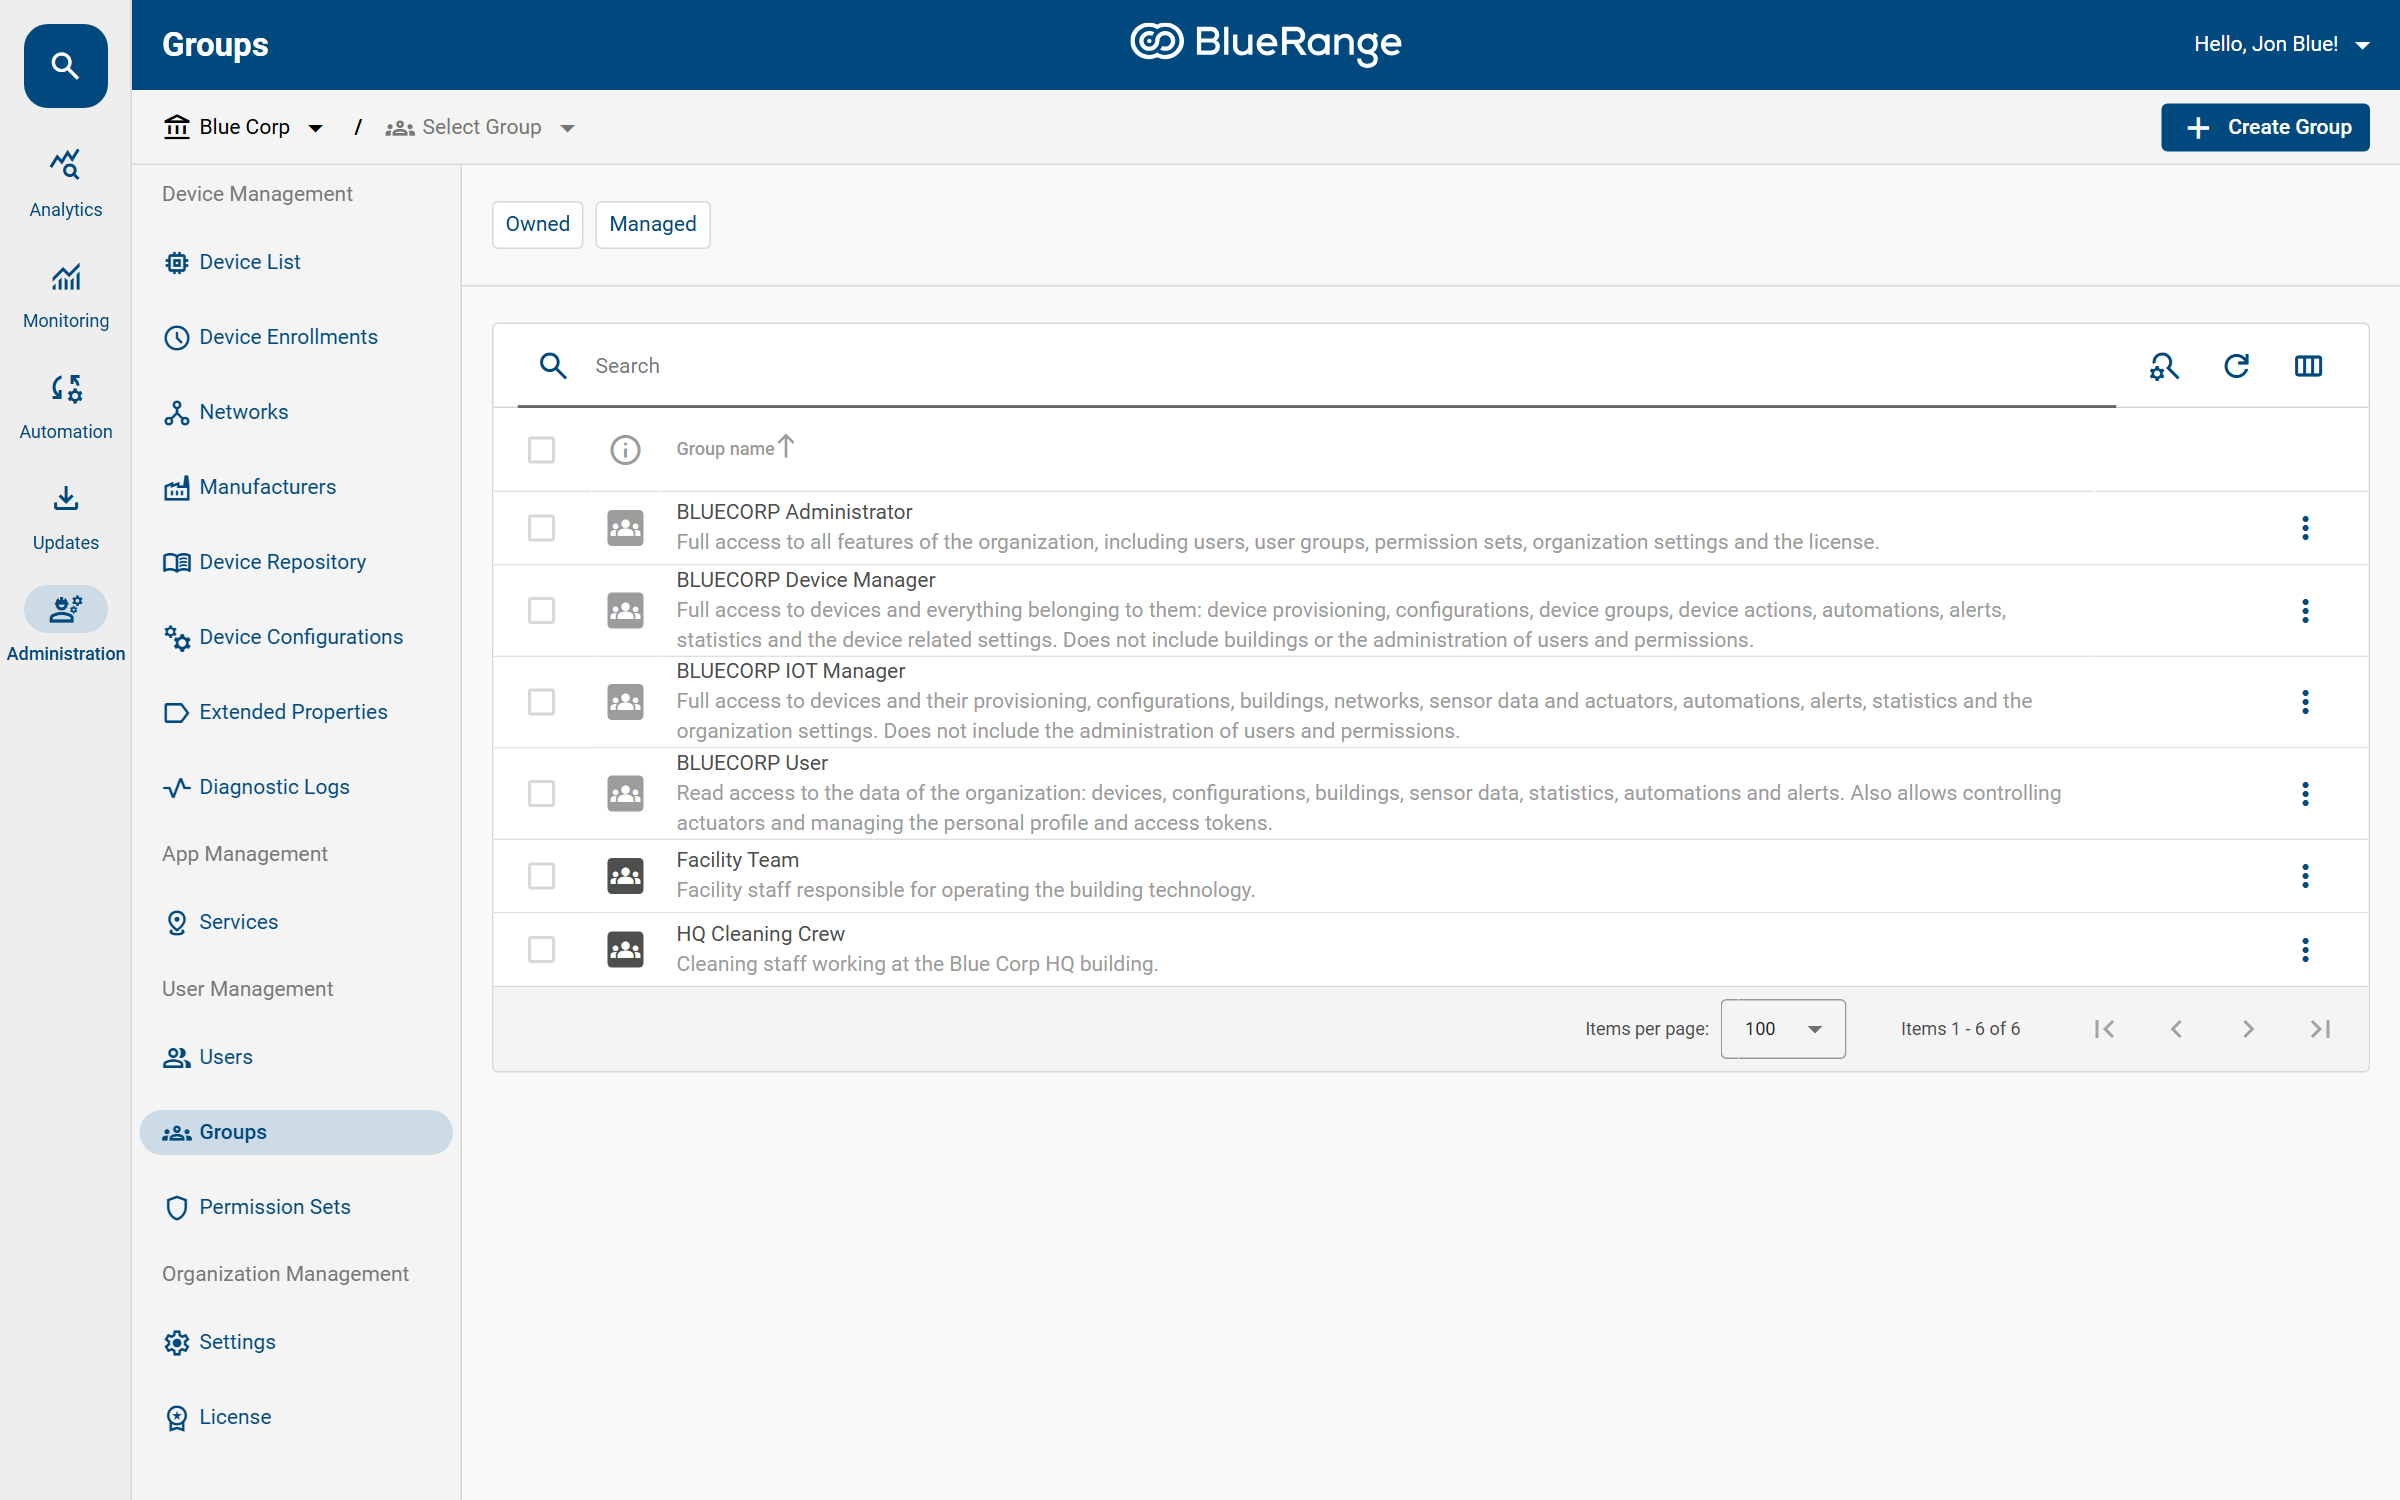
Why Create Your Own Groups?
The predefined groups cover the standard roles, but you will usually want your own groups to:
-
Model your teams, for example a "Facility Team" or "Cleaning Crew" that matches how your organization actually works.
-
Grant a custom set of permissions once by assigning a Permission Set to the group, so every member gets it instead of configuring each user individually.
-
Restrict a team to certain buildings or devices by combining a group with Partial Permissions.
-
Keep administration simple, because when someone joins or leaves a team you only change their group membership and their access follows automatically.
Creating a Group
-
Click
Create Groupin the top right corner. -
Enter a Name and an optional Description.
-
Click
Save.
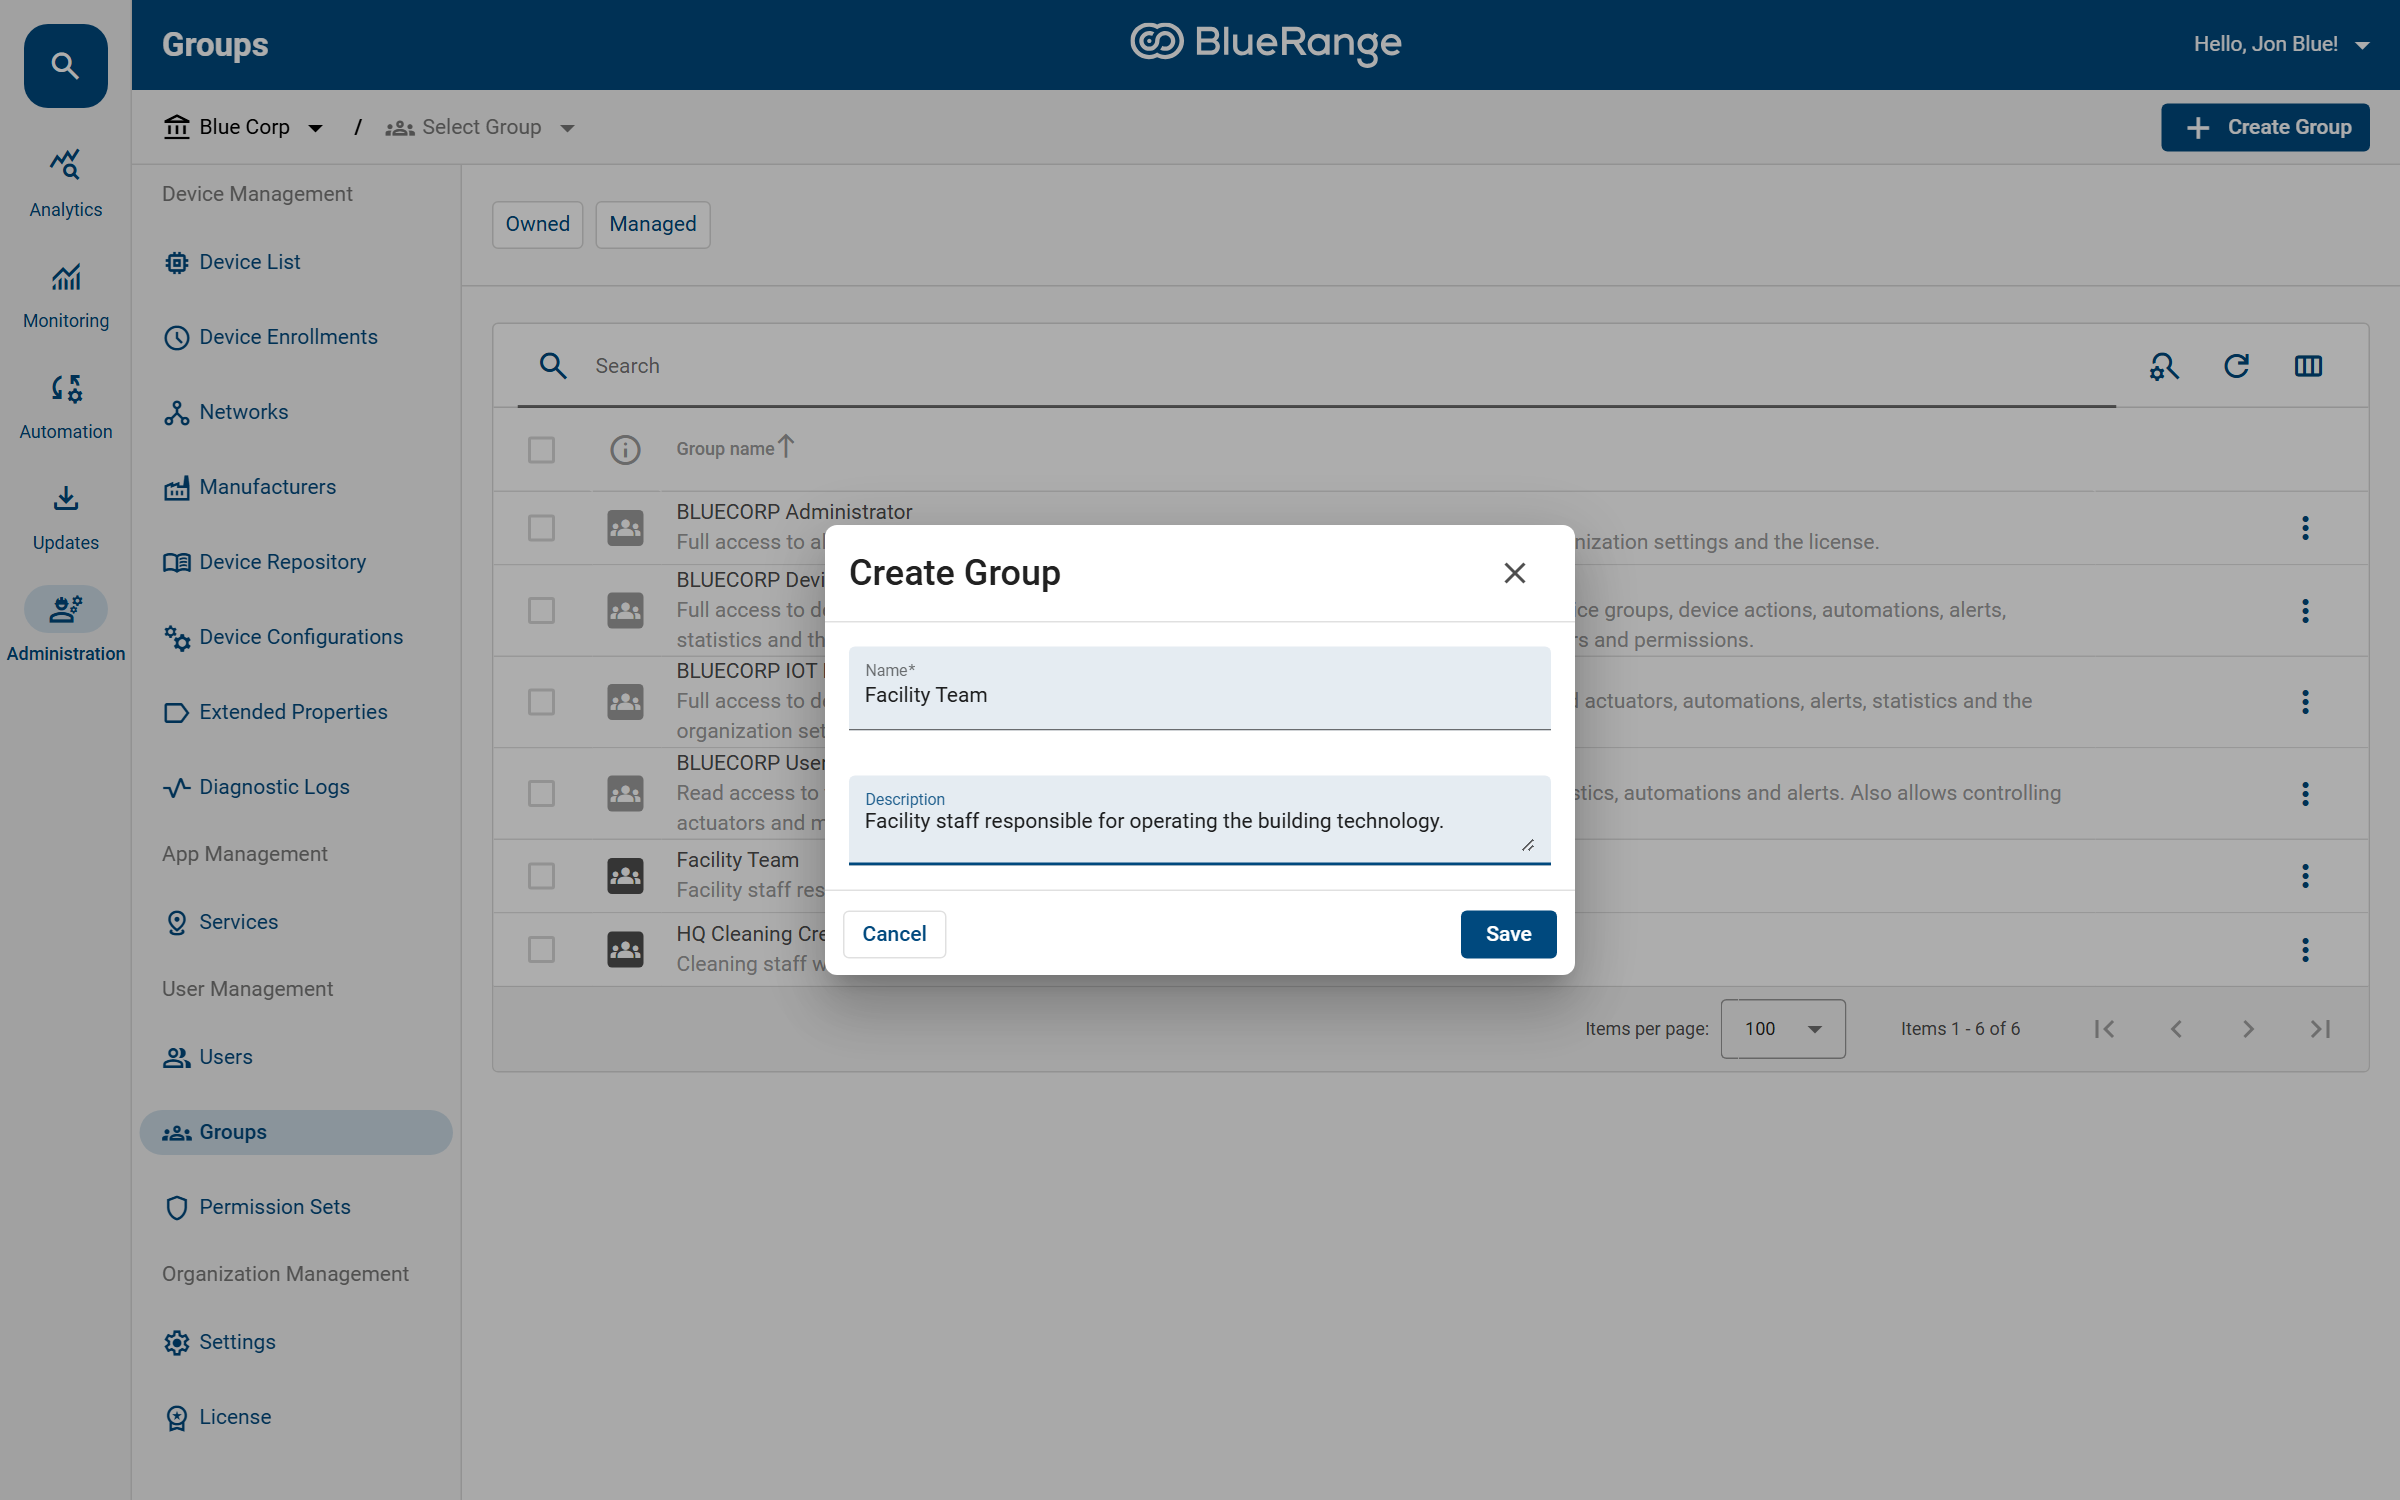
A new group is empty and has no members or permissions yet. Open it to configure it.
The Group Overview
Open a group by clicking its row. Its overview page has four cards:
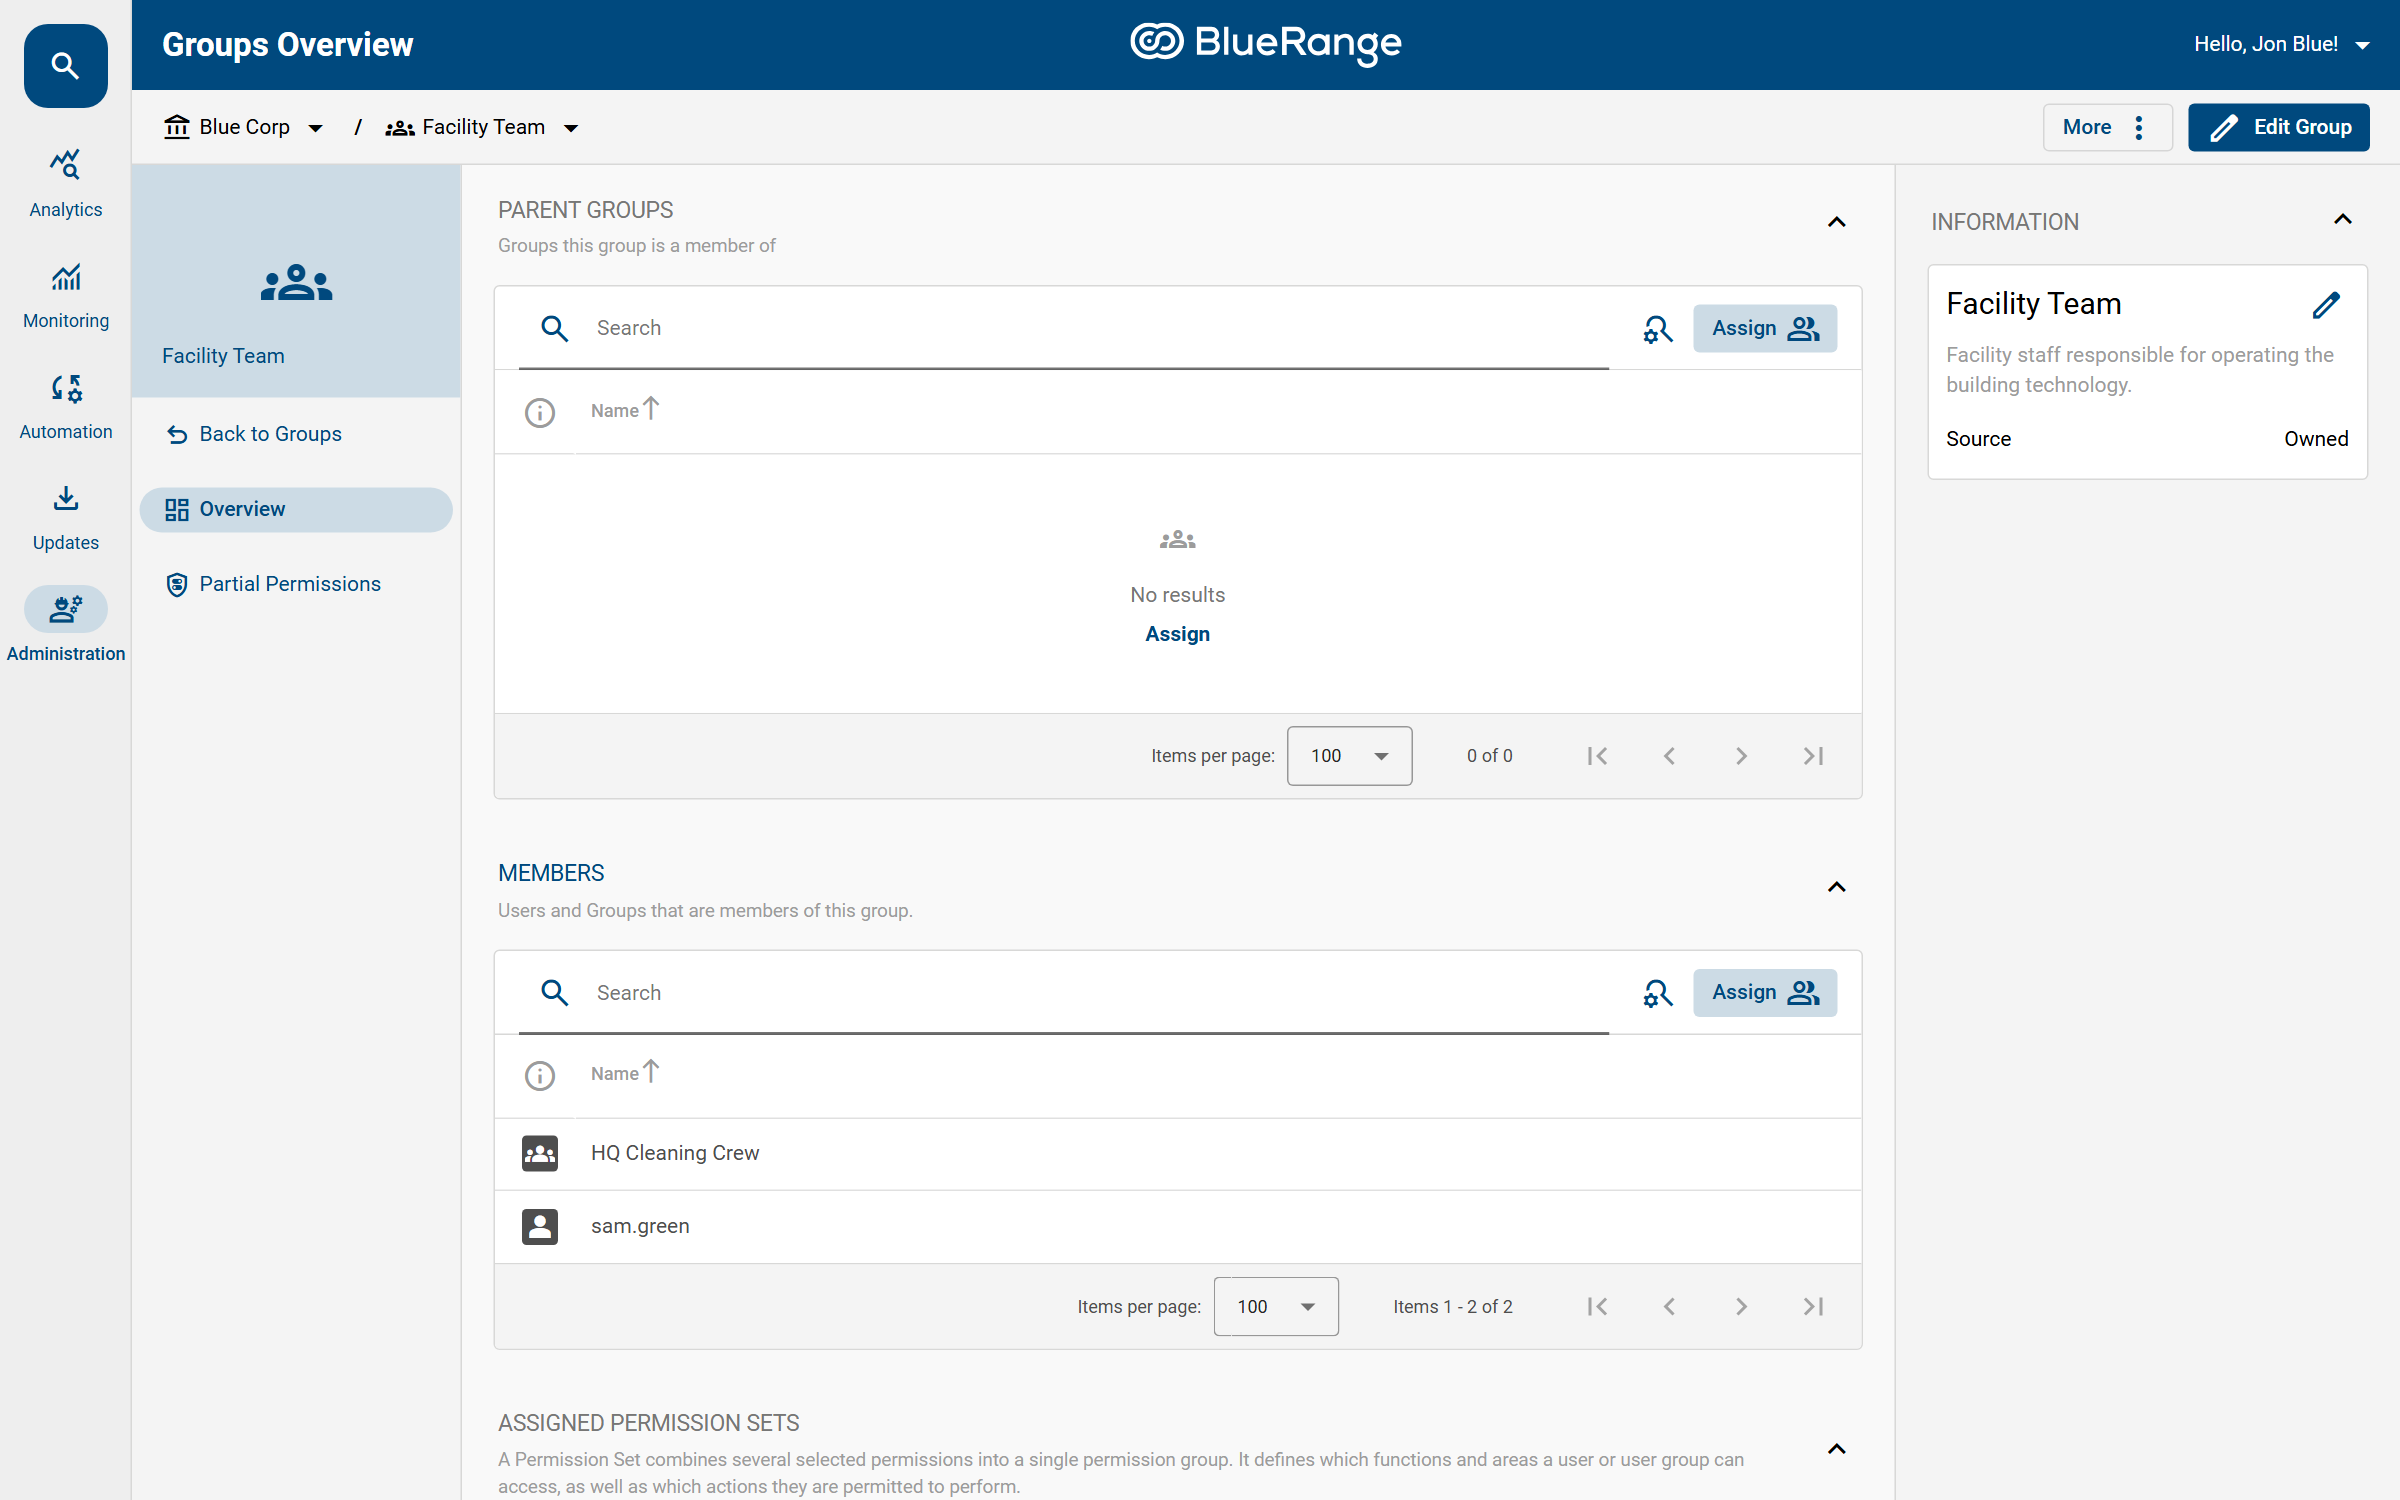
- Parent Groups
-
The groups this group is a member of. This is how you nest a group inside another one.
- Members
-
The Users and Groups that belong to this group. Use
Assignto add members. - Assigned Permission Sets
-
The Permission Sets granted to this group. Every member receives them.
- Effective Permissions
-
A read-only summary of everything the group’s members are allowed to do.
Adding Members
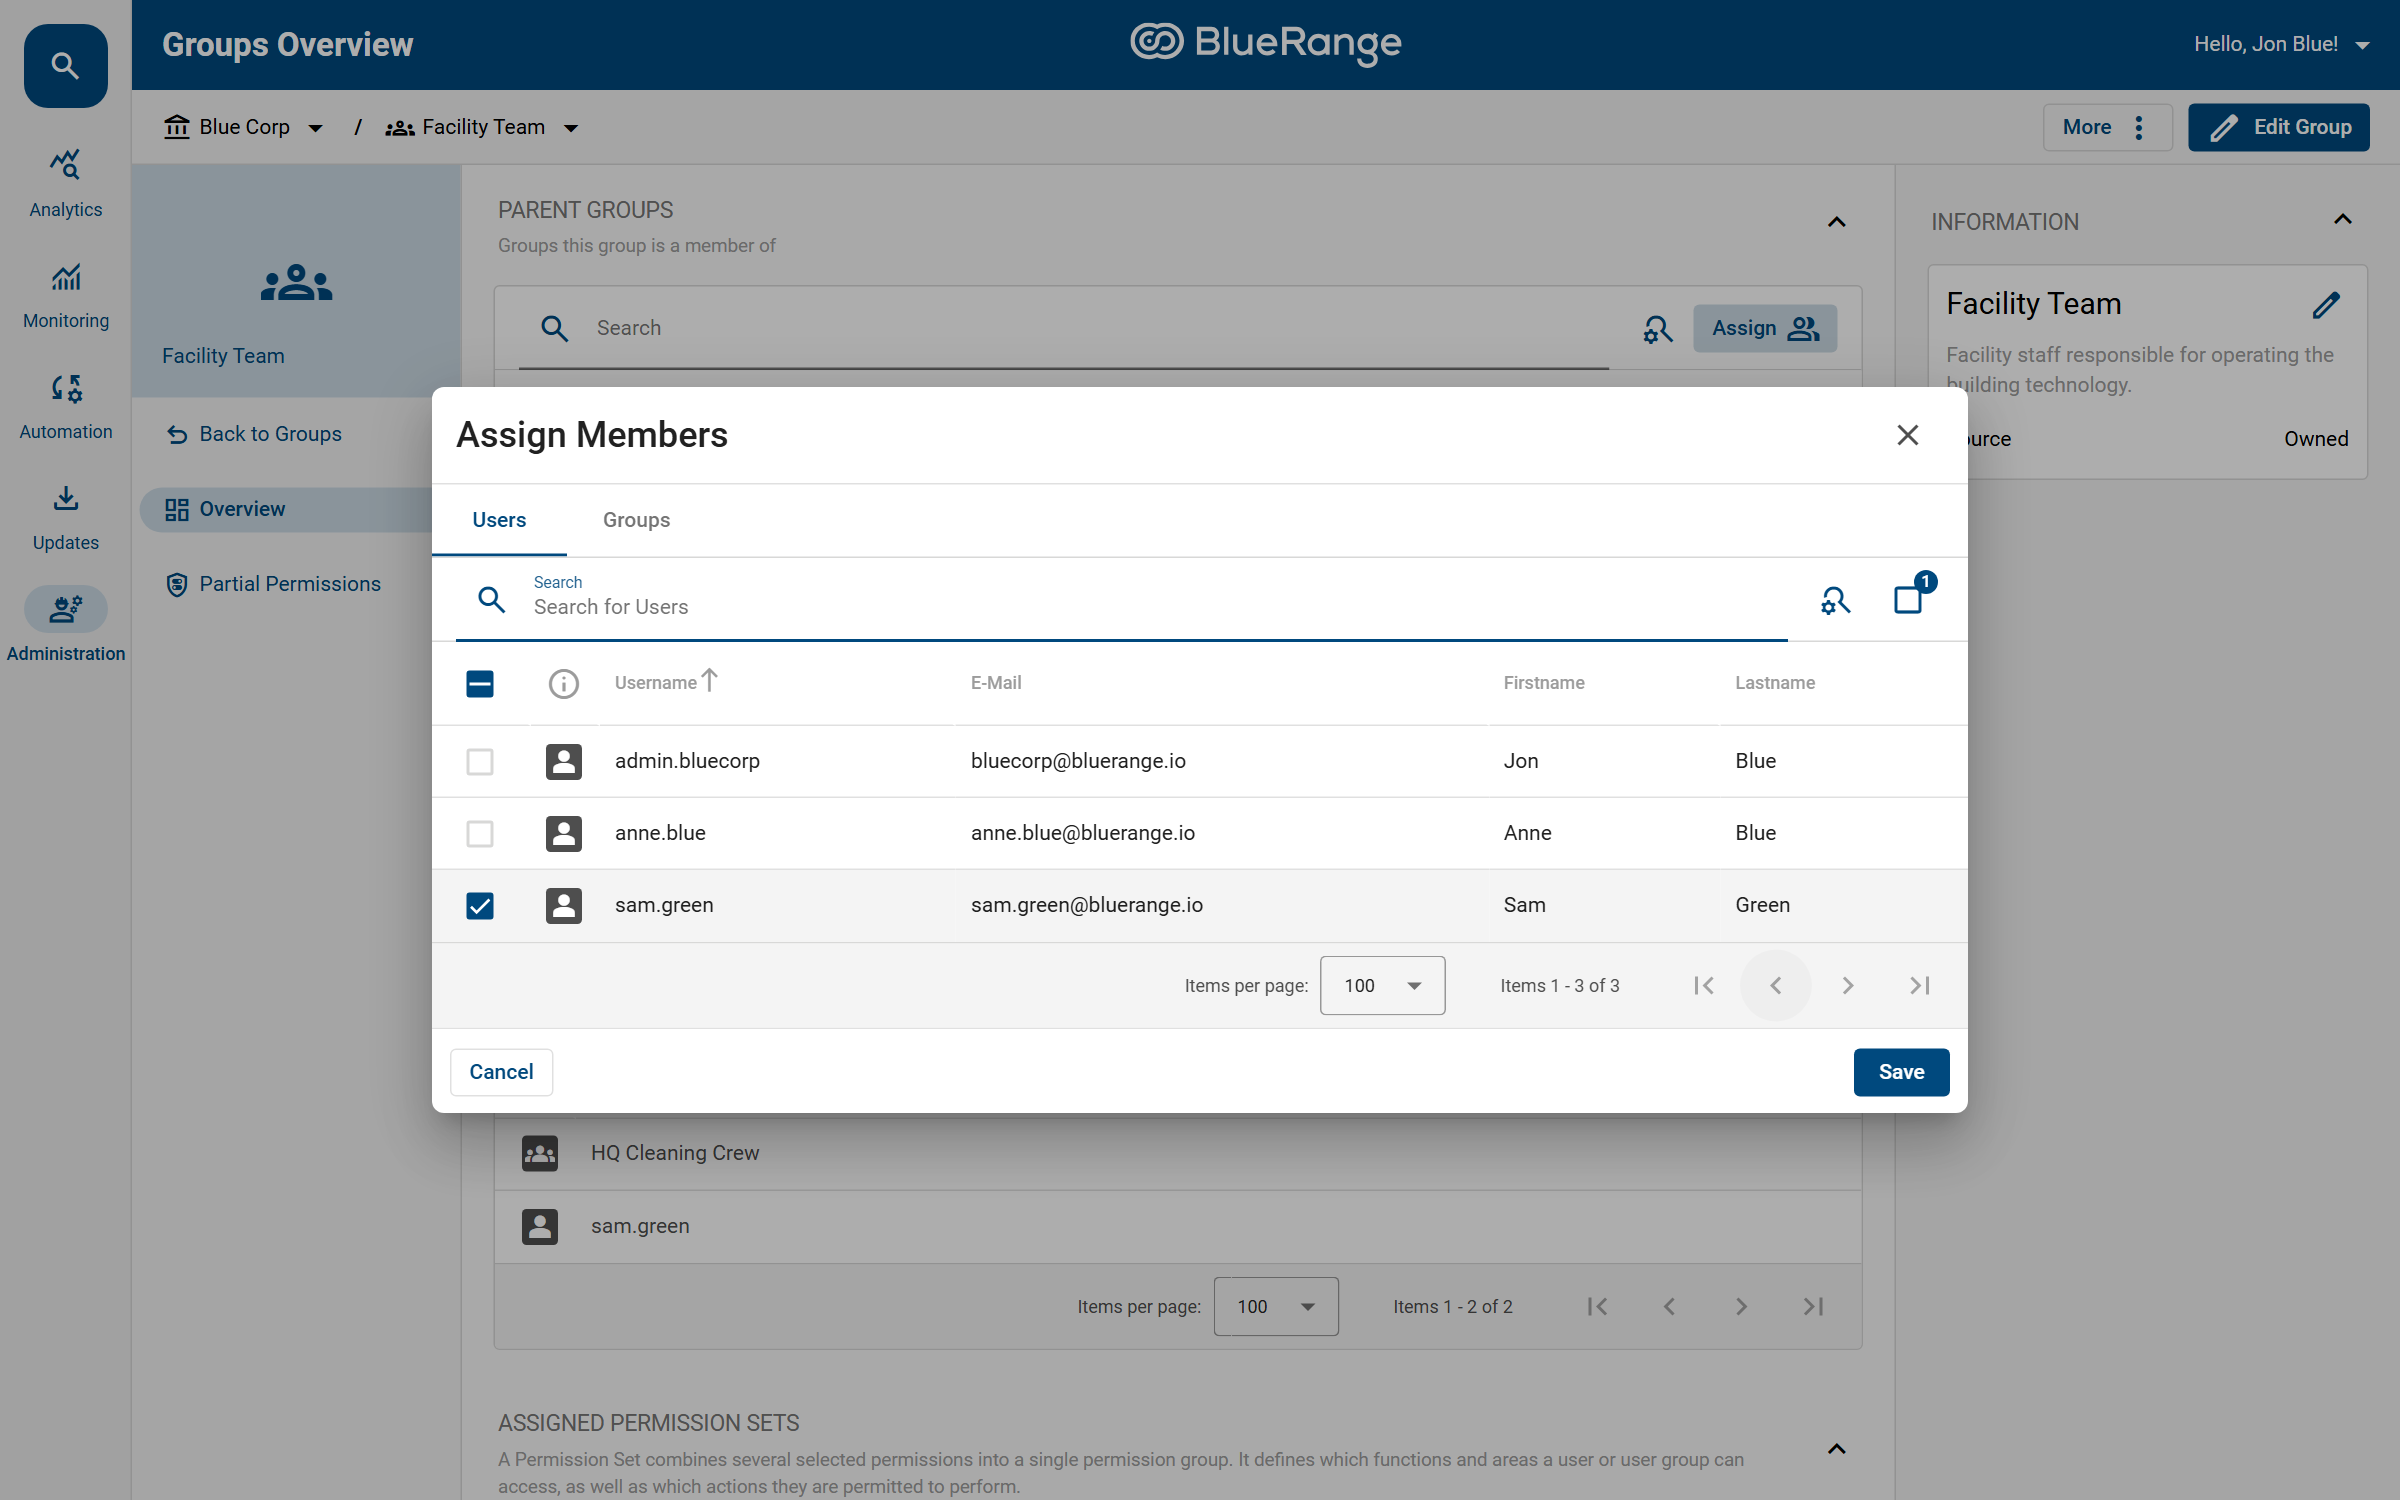
On the group overview, click Assign in the Members card. The dialog has two tabs so you can add both Users and Groups as members. Select the entries you want and click Save.
Nesting Groups (Hierarchies)
Because a group can contain other groups, you can build a hierarchy that mirrors your organization. Every group has two sides:
-
Members are the users and groups that belong to it (looking downward).
-
Parent Groups are the groups it is itself a member of (looking upward).
A group inherits all Permission Sets of every parent group it belongs to. Membership therefore flows permissions downward from parent to member.
Example:
-
Facility Team is assigned the Facility Manager permission set.
-
HQ Cleaning Crew is added as a member of Facility Team.
-
As a result, everyone in HQ Cleaning Crew automatically receives the Facility Manager permissions, on top of anything assigned to the cleaning crew directly.
The same relationship is visible from both ends. On the HQ Cleaning Crew page, Facility Team appears as a Parent Group:
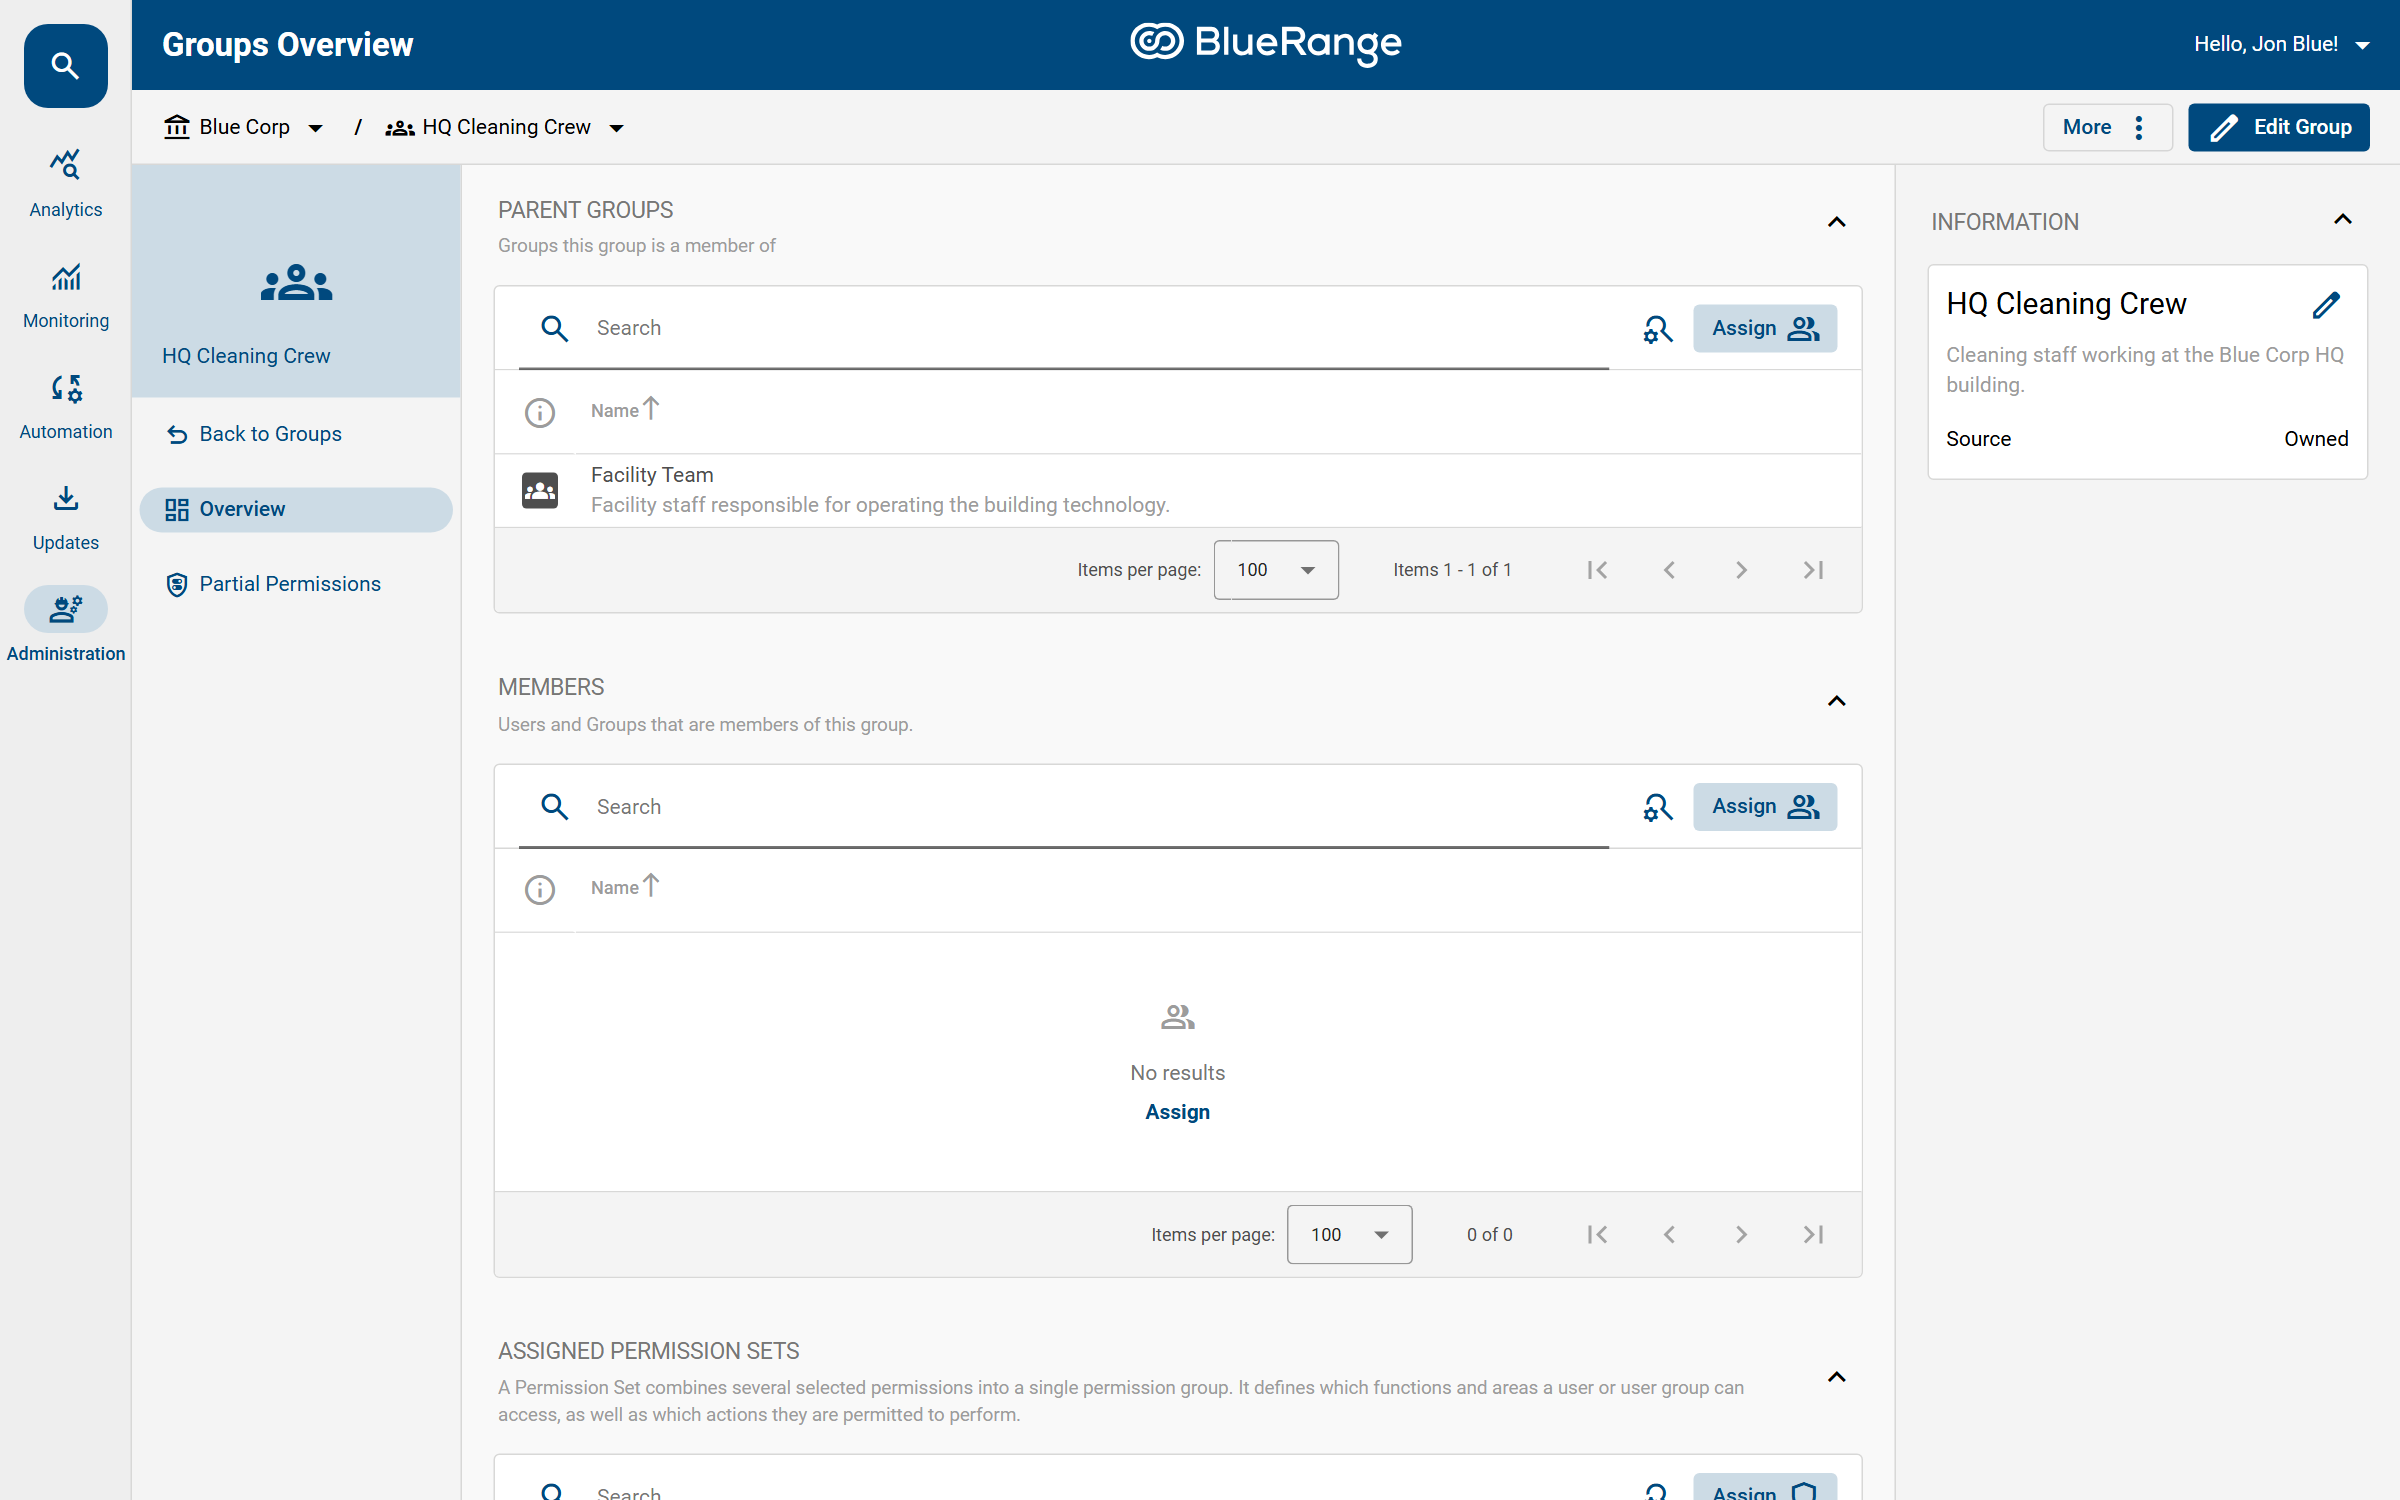
You can create the relationship from either side, and both lead to the same result:
-
From the parent group (Facility Team), add the child group in the Members card.
-
From the child group (HQ Cleaning Crew), add the parent group in the Parent Groups card.
Nesting is the recommended way to reuse access: assign permissions once to a base group and make other groups members of it.
|
Remember that permissions are additive. Making a group a member of another group can only add permissions to its members and never removes any. To take permissions away, remove the membership. |
| A group cannot be a member of itself, and the predefined system groups cannot be renamed or deleted. |
Assigning Permissions to a Group
Use the Assign button in the Assigned Permission Sets card to grant Permission Sets to the whole group. To restrict those permissions to specific buildings or devices, use Partial Permissions from the group’s sidebar.
See Also
-
Default Groups & Permission Sets (what the predefined groups are for)
-
Managing Users (adding users to groups)
-
Permission Sets (defining what a group may do)